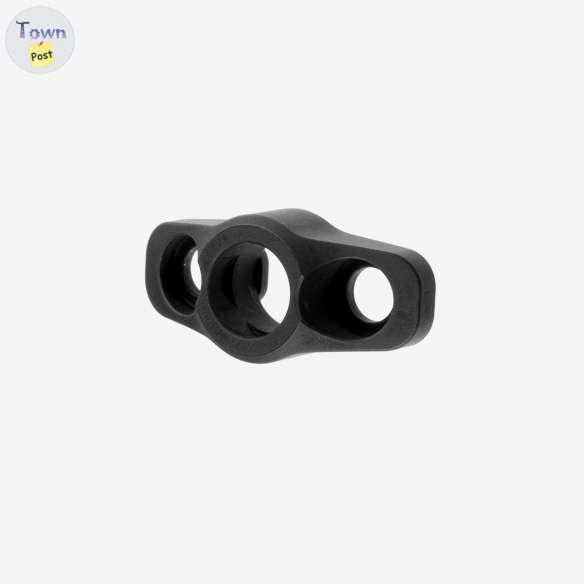
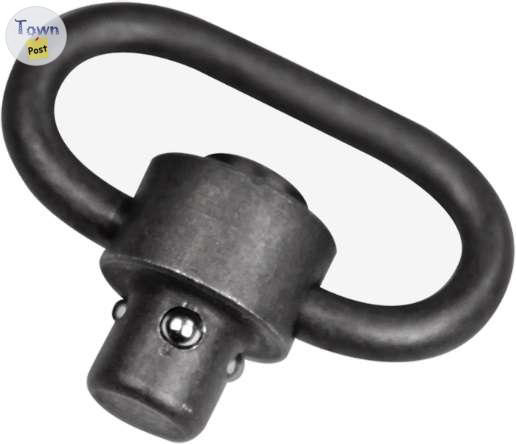
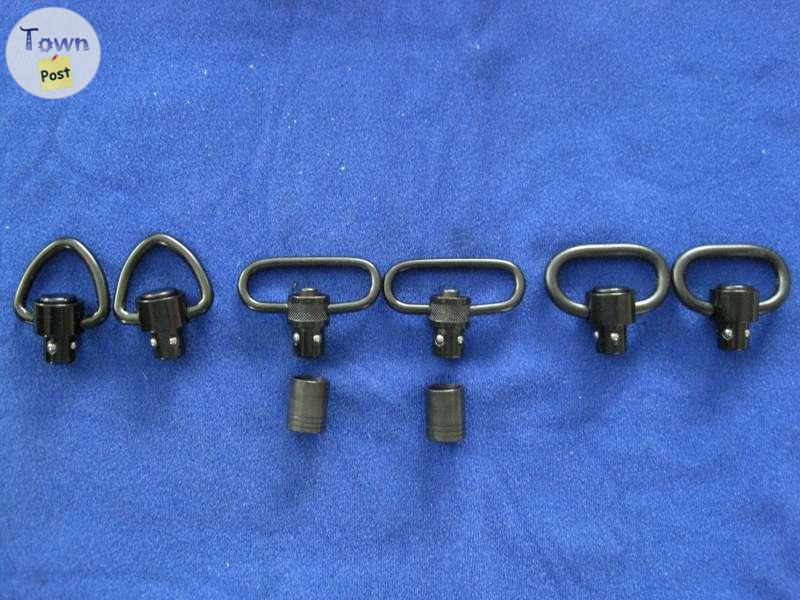
Quick Detach (QD QDM) Sling Mount Kit - Single and Double Sided - Stainless Steel
5.56 NATO/223 Rem. Semi Automatic Parts
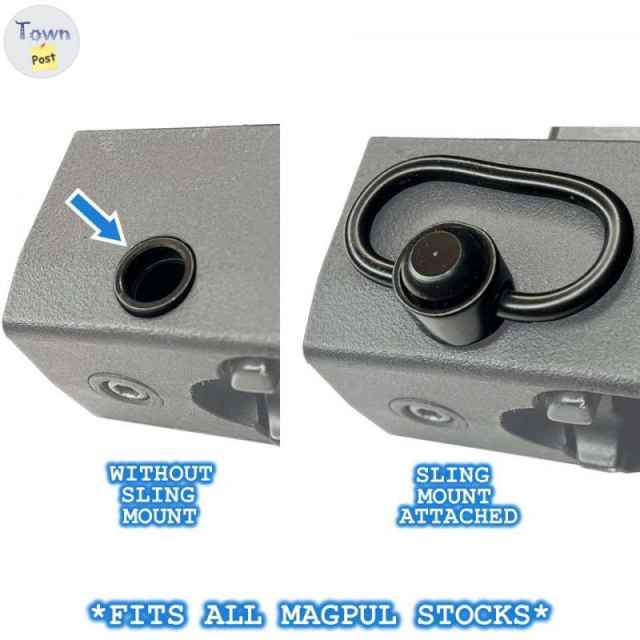
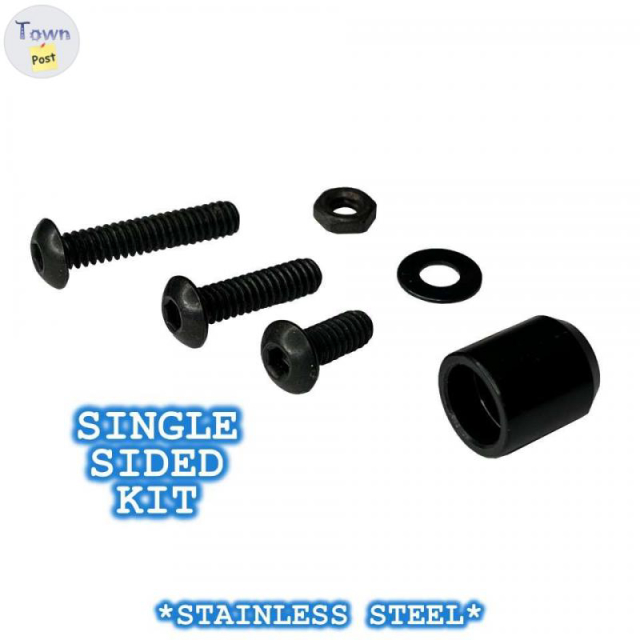
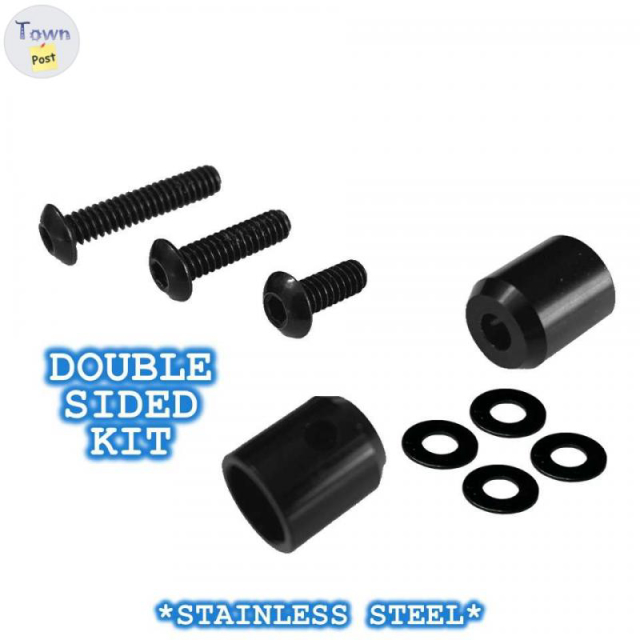
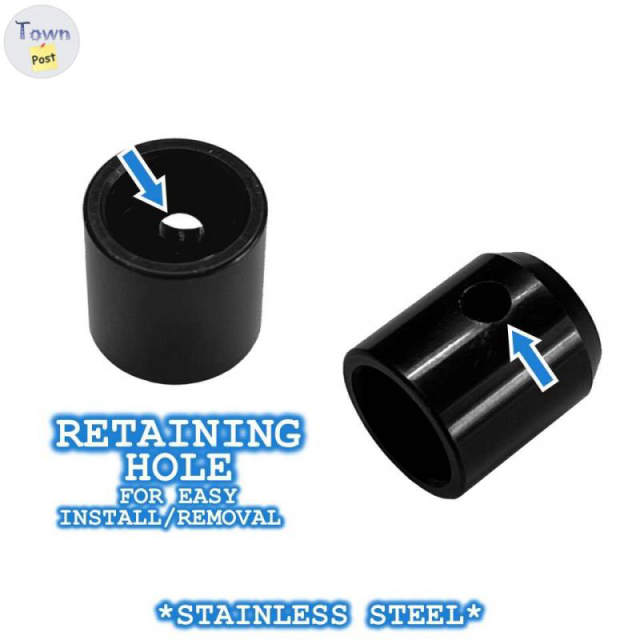
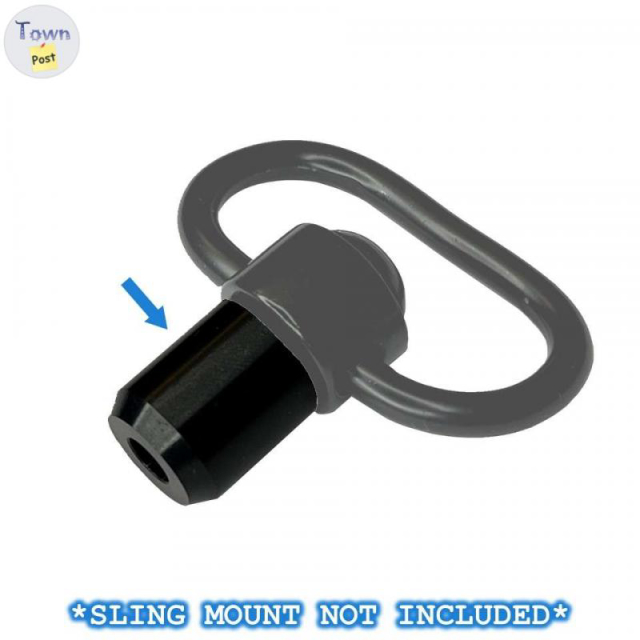
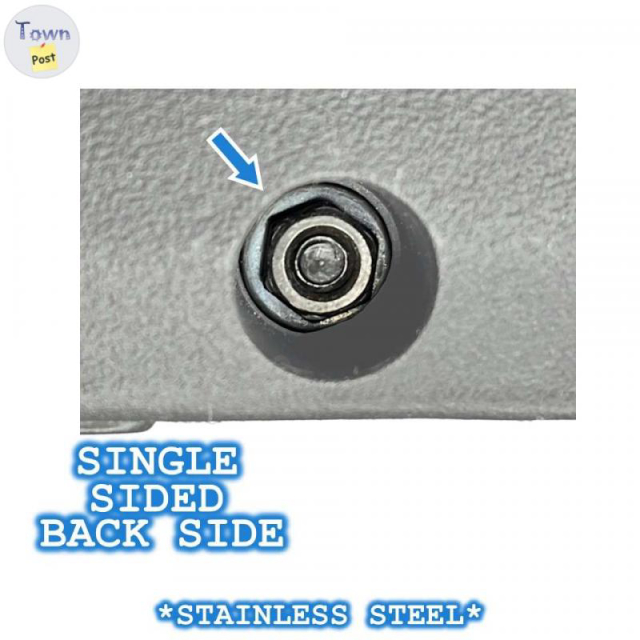
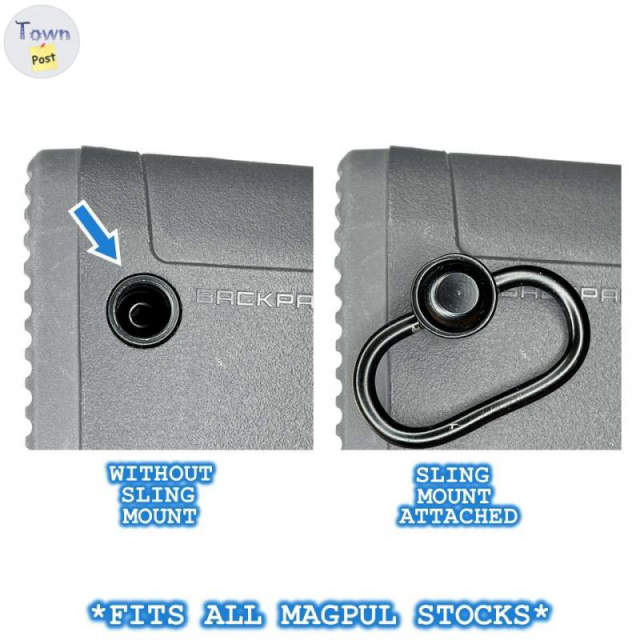
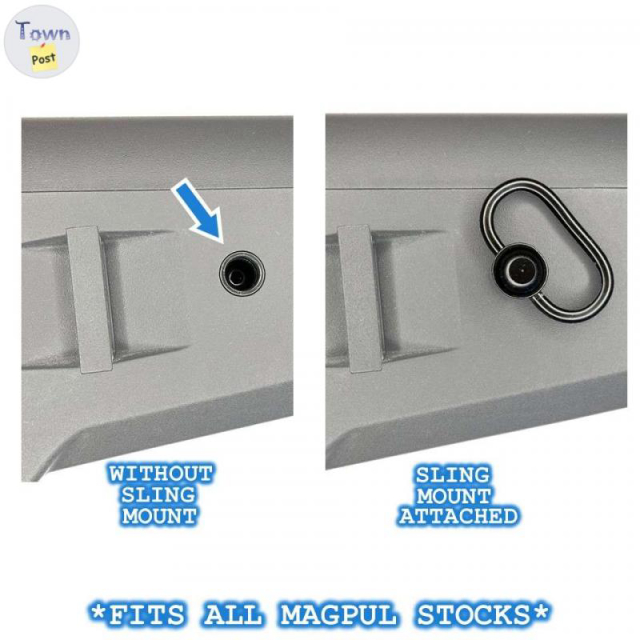
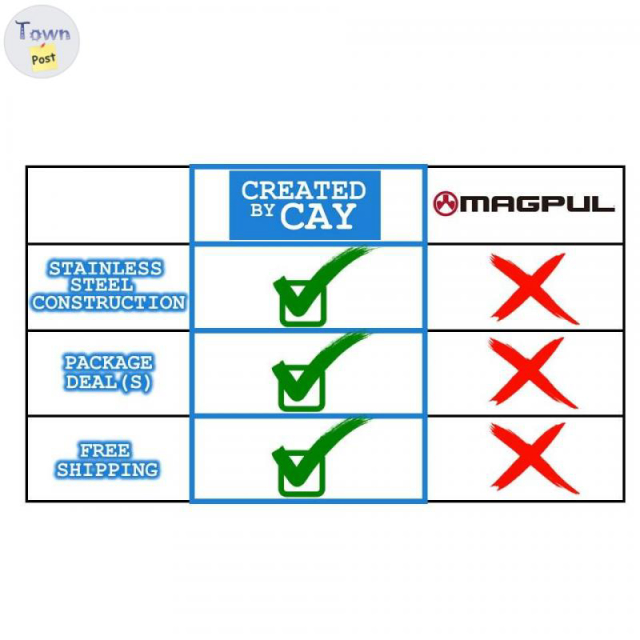
Prices A - Single Sided Kit - $20 B - Double Sided Kit - $30 **$5 off each additional kit for any order combo (2 or more) **Ex. A+B=$50-($5 discount)=$45 Total **3x A=3*$20=$60-2*($5 discount)=$50 Total ***EMT is King Shipping included in the price via Canada Post Letter Mail (untracked 5-7 Business Days). Brand: Created by Cay (Yes it's my original design) ___________________________________ Single Sided Specs/Instructions Specifications Black Anodized Stainless Steel Weight: 0.2oz (6g) Length: 0.571" (14.5mm) Equivalent to Magpul Type 1 Sling Mount Kit Kit comes with the following 1x Stainless QD Insert 1x Stainless Washer 1x Stainless Nut 3x Stainless Screws (1/2", 3/4", and 1") What you will need 1/8" Allen Key Wrench 5/16" Socket Screwdriver/Wrench Blue Loctite (Optional) Instructions 1. Insert QD Insert into stock on the desired side 2. Insert one of the 3 screws through the hole on the QD Insert 3. Insert a washer on the opposite side 4. Apply a drop of Loctite on the threads of the nut (optional) 5. Using the Allen Key Wrench and 5/16" Socket fasten the nut on the screw 6. Fasten the assembly until snug using the Allen Wrench ___________________________________ Double Sided Specs/Instructions Specifications - Black Anodized Stainless Steel - Weight: 0.4oz (12g) - Length: 0.571" (14.5mm) *each insert* - Equivalent to Magpul Type 1/Type 2 Sling Mount Kit Kit comes with the following - 2x Stainless QD Insert - 4x Stainless Washer - 3x Stainless Screws (1/2", 3/4", and 1") What you will need - 1/8" Allen Key Wrench - Blue Loctite (Optional) Instructions 1. Insert QD Inserts into stock on both sides of the stock 2. Insert one of the 3 screws through the hole of the unthreaded QD Insert 3. Using the Allen Key Wrench thread the screw and temporally fasten the assembly together 4. Function check using the QD Sling Mount on both sides 5. If the bottom of the screw is protruding too far out, remove the QD Inserts and shim off the QD Inserts with the provided Washers 6. Once the correct Screw and Washer Shims (Optional) is determined, the assembly can be fastened together 7. Apply a drop of Loctite on the threads of the Screw (optional) 8. Fasten the assembly until snug using the Allen Wrench 9. *If the Threaded Insert is spinning on it's own, the Insert can be retained via Retaining Hole with a smaller Allen Wrench (See Last Image)
Transportation Options
- Local Pickup
- Can Ship
Listed by
Share this Ad
Transportation Options
- Local Pickup
- Can Ship
