disconnected
Categories
Towns
Search Ads
Post Ad
Login
Filter
Newest
Get notified of new matching results.
Sort Order
Newest
Previous slide
Next slide
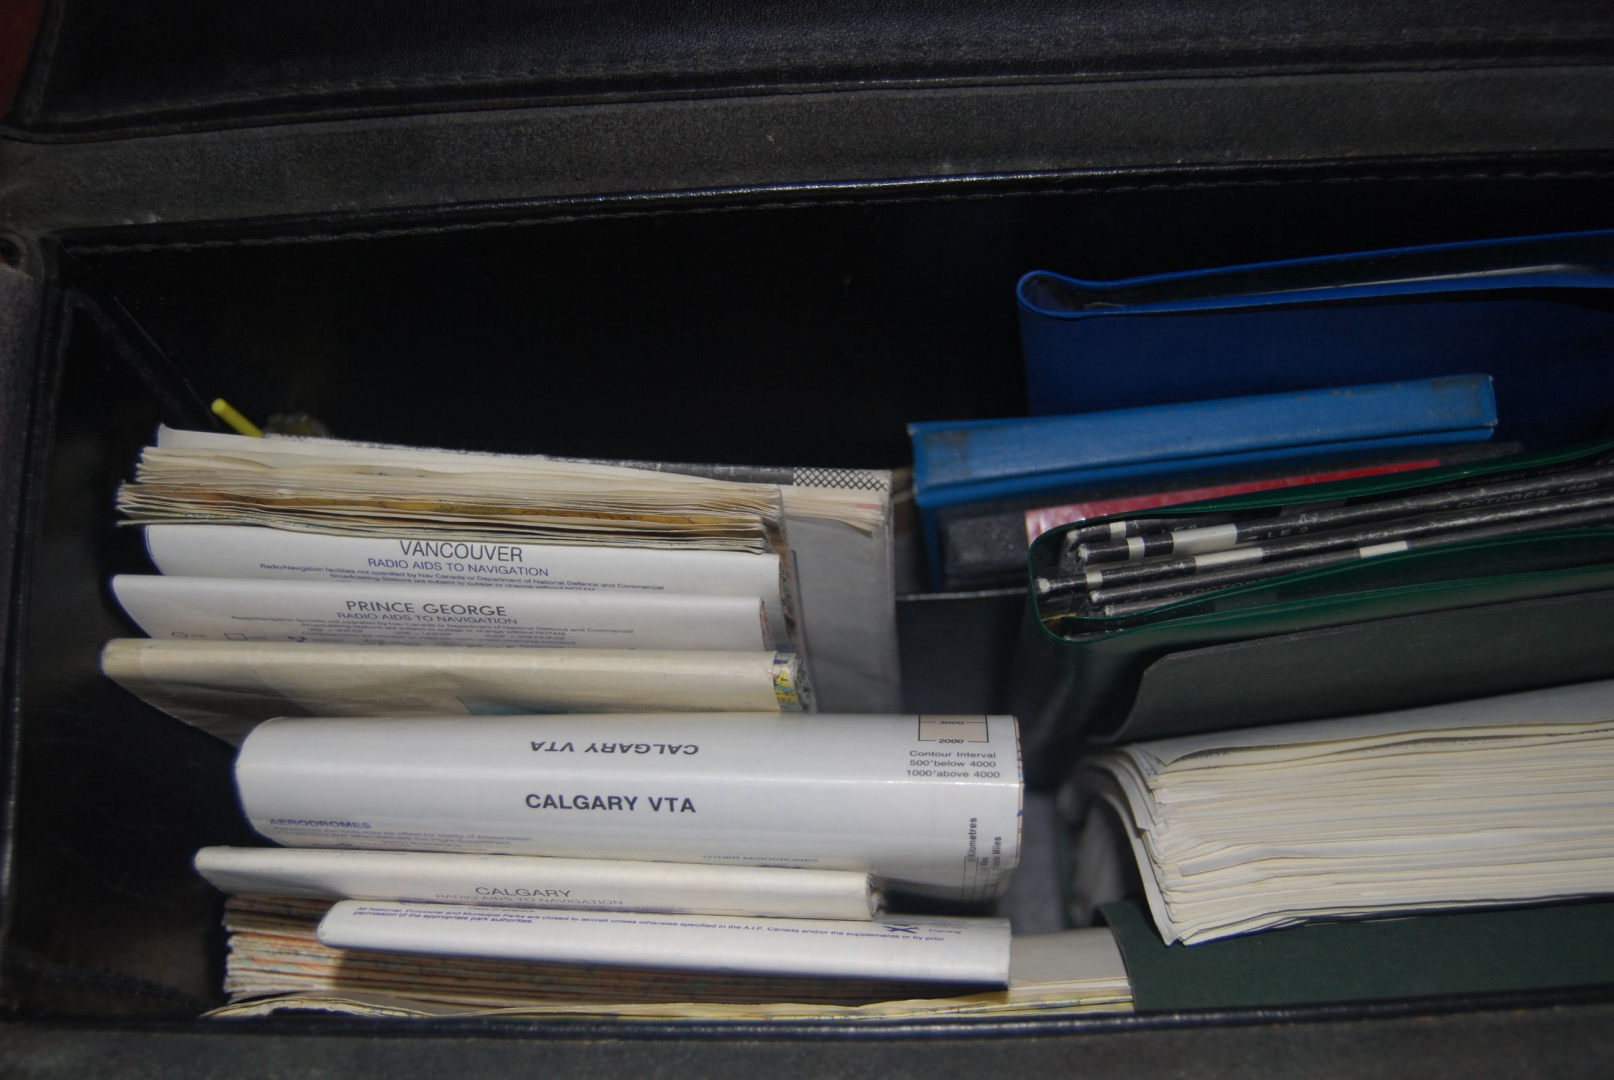
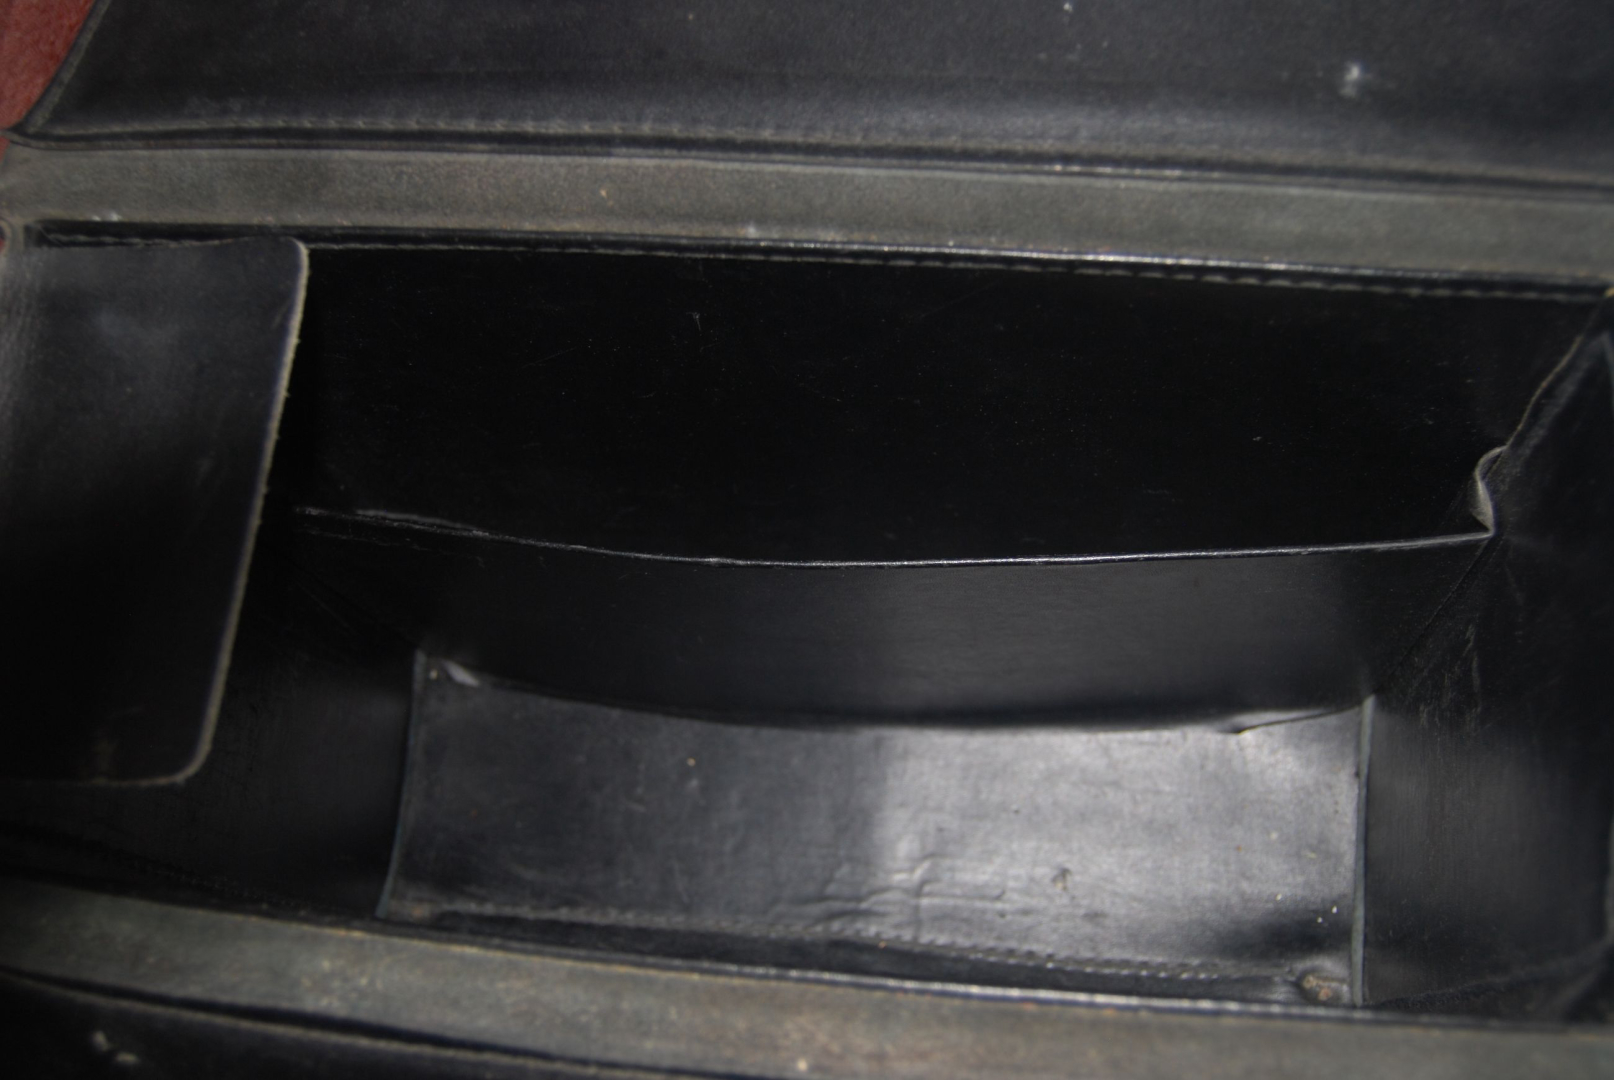
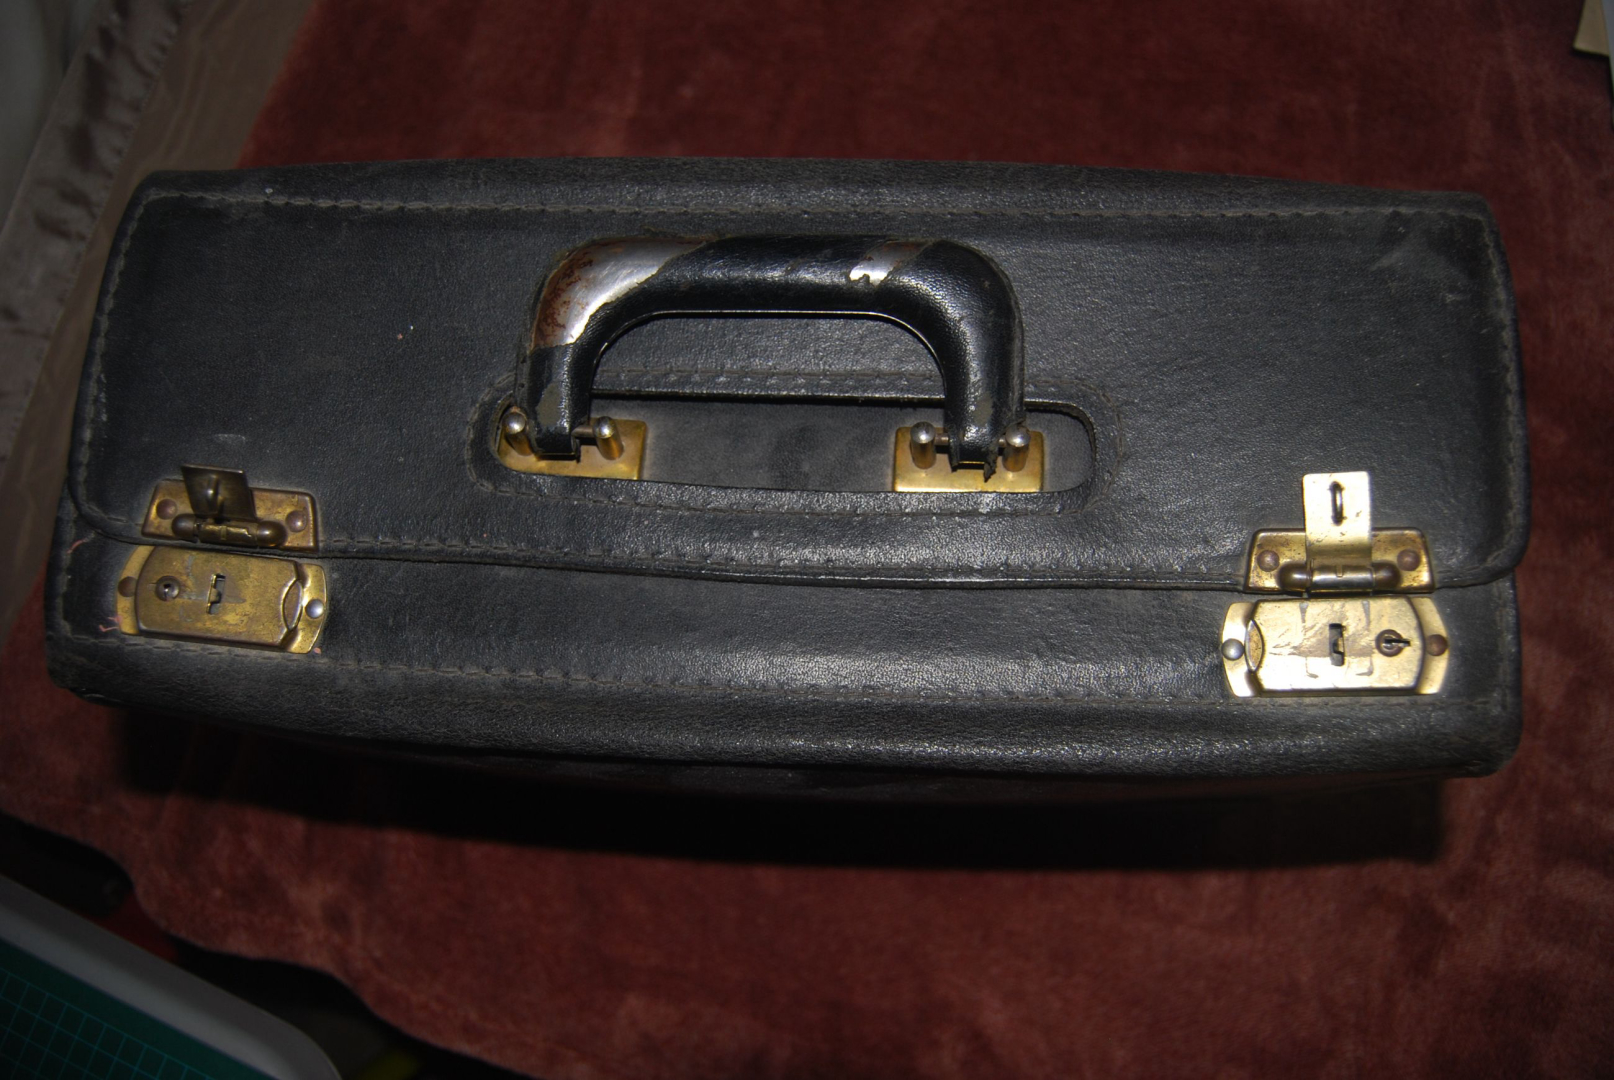
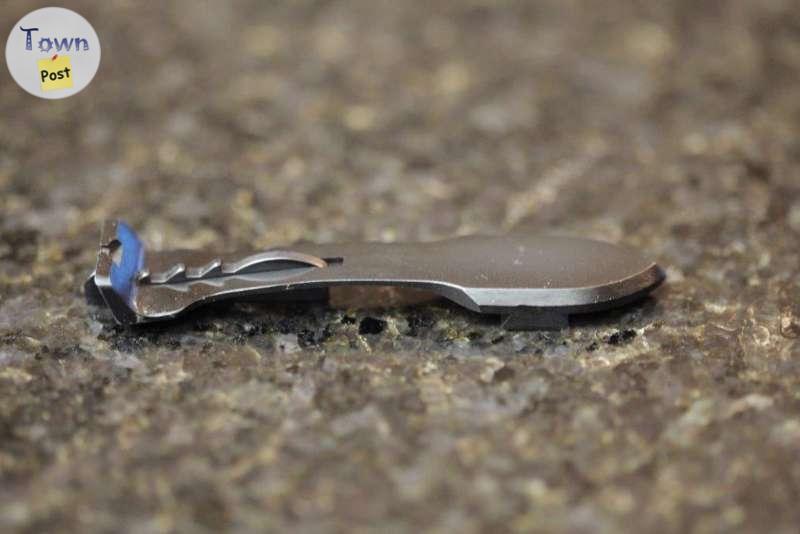
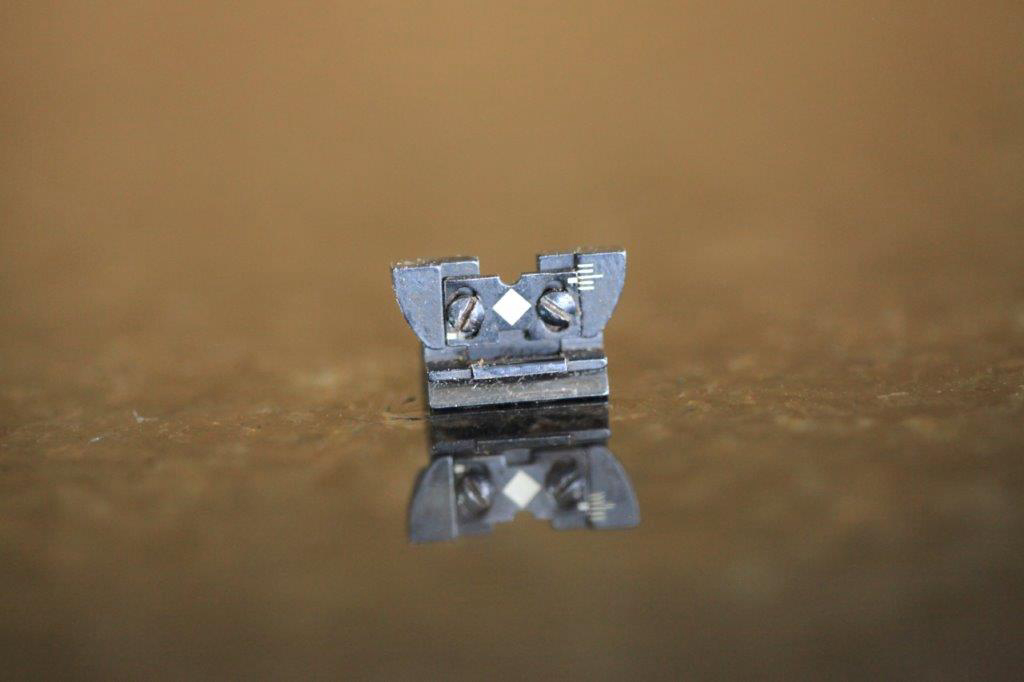
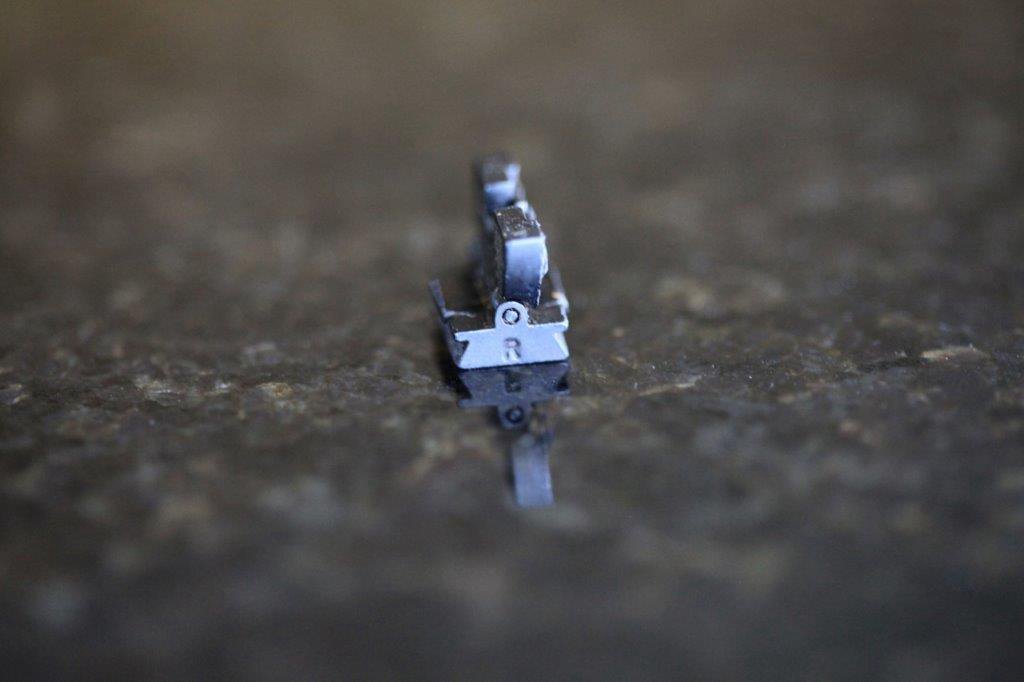
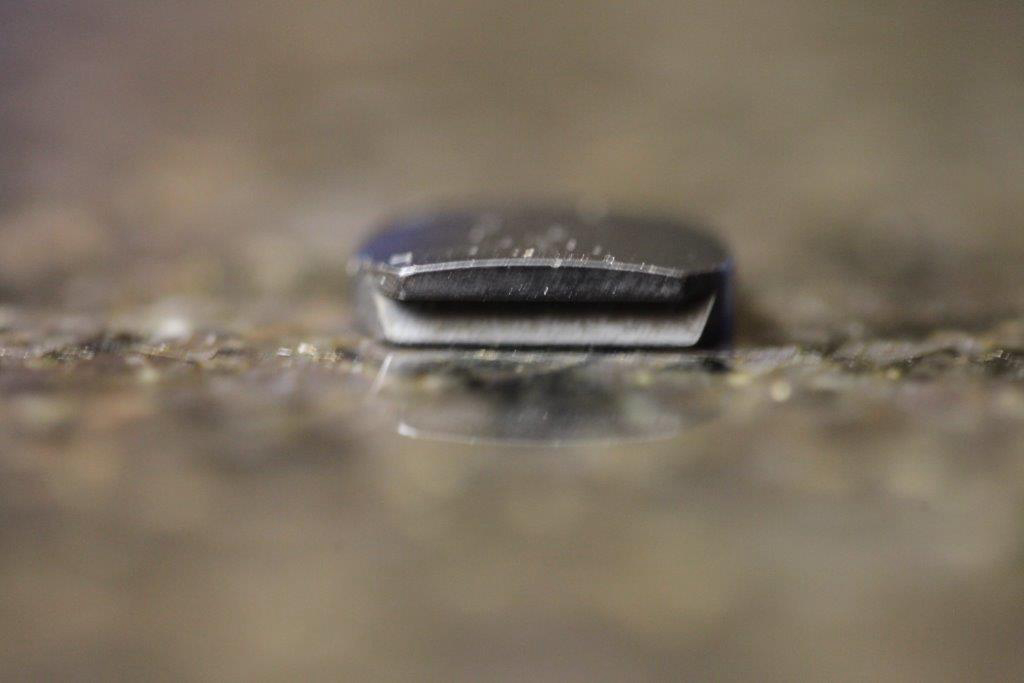
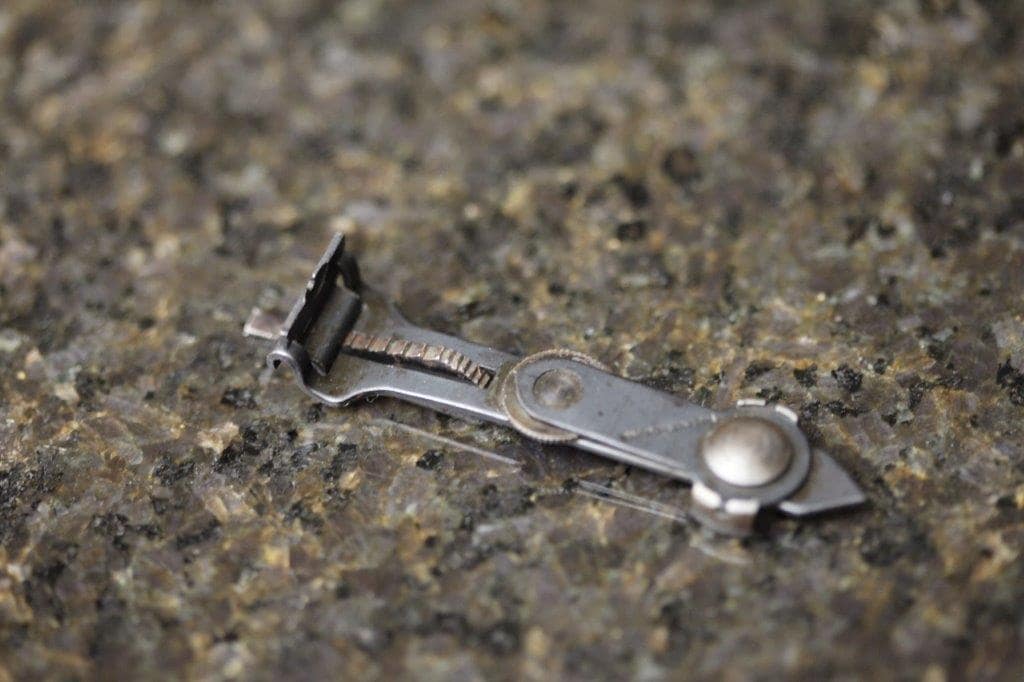
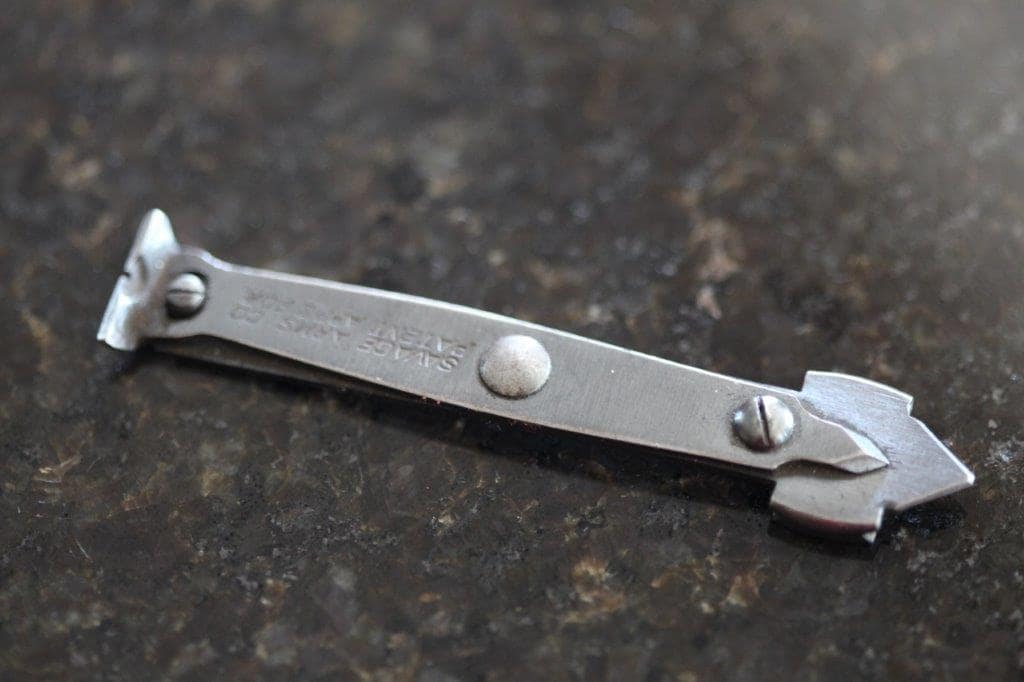
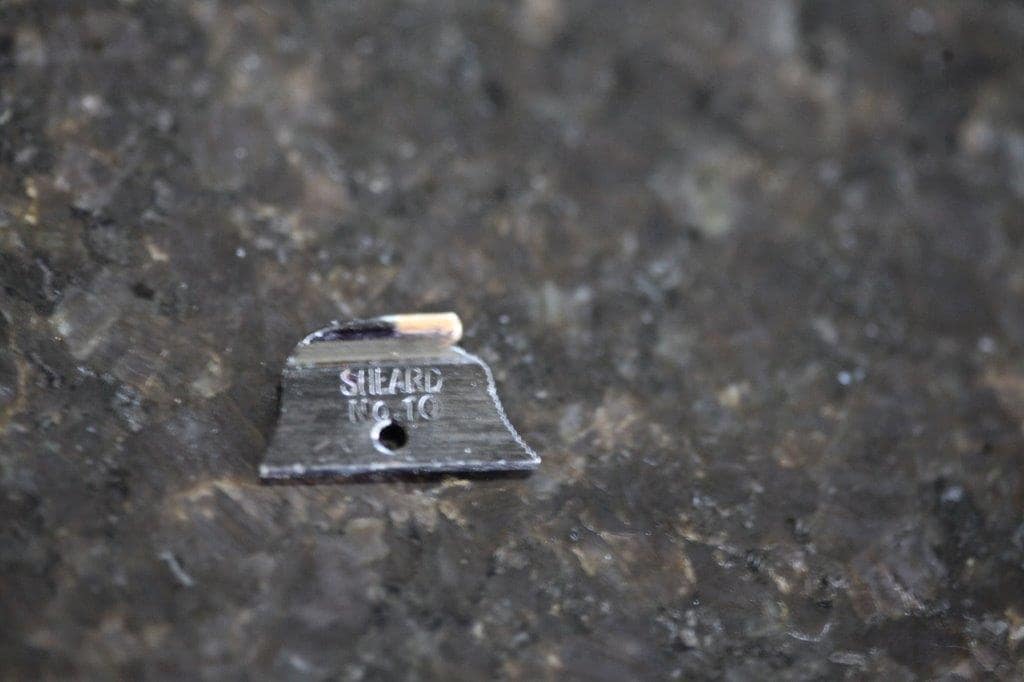
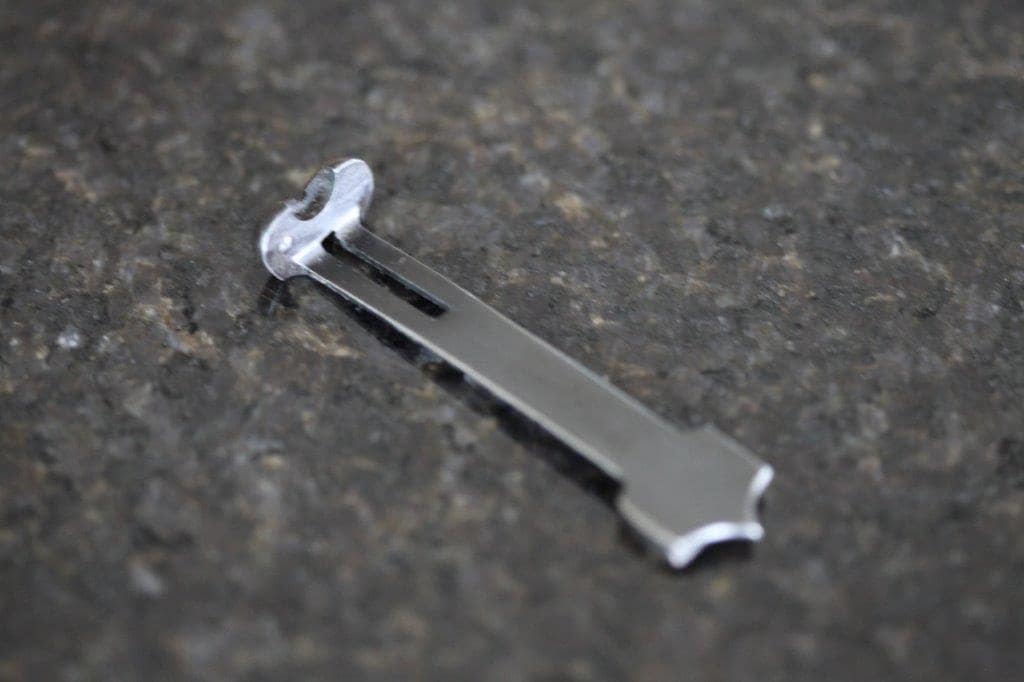
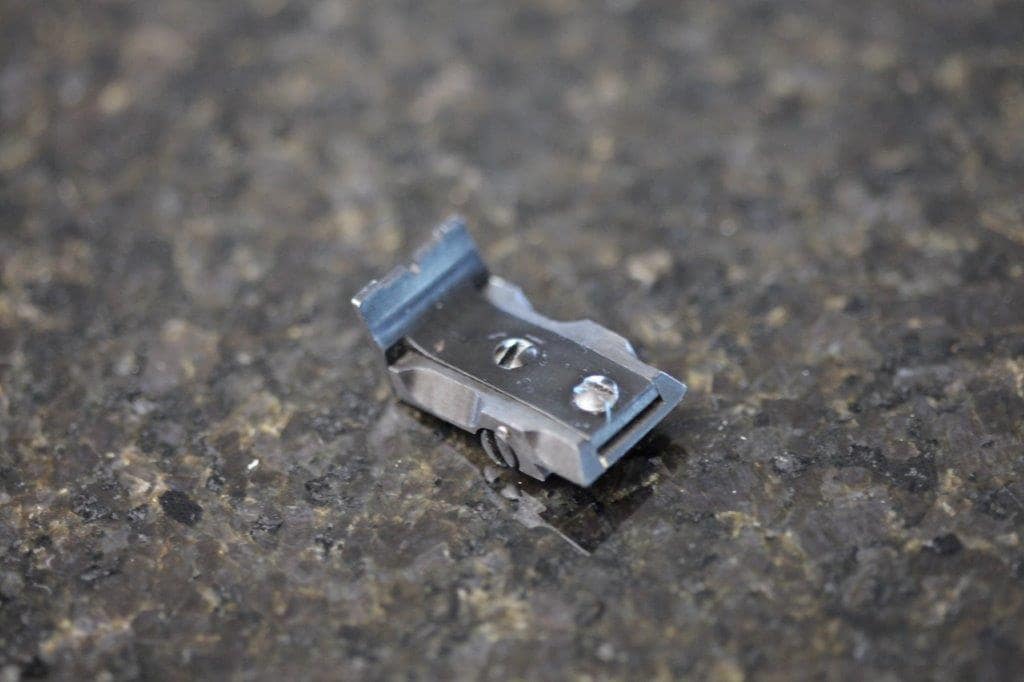
Refer to Miscellaneous Flying Accessories List.
MISCELLANEOUS FLYING ACCESSORIES - COLLECTABLE!!
categories:
Sporting Goods
Edmonton, AB
25 minutes ago
$1250
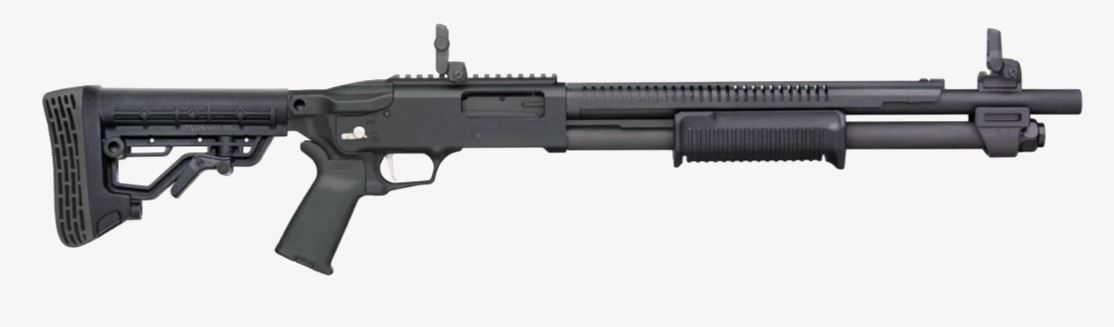
Brand new Mossberg 50762 590R 12 GA 18.5″ MIL SPEC BLACK Pump Action Shotgun $1250
categories:
Sporting Goods
Guns
Calgary, AB
6 hours ago
Previous slide
Next slide
$145.00
Husqvarna Rifles - Sights + Parts
categories:
Sporting Goods
Guns
Lacombe, AB
1 day ago
Advertise Here
Premium visibility for your business
Get Started
Previous slide
Next slide
$100.00
Ruger 10-22 - Rear Sight
categories:
Sporting Goods
Guns
Alberta
1 day ago
Previous slide
Next slide
$150.00
Savage - Stevens - Rimfire & Centerfire Rifles - Sights + Parts
categories:
Sporting Goods
Guns
Alberta
1 day ago
Previous slide
Next slide
$150
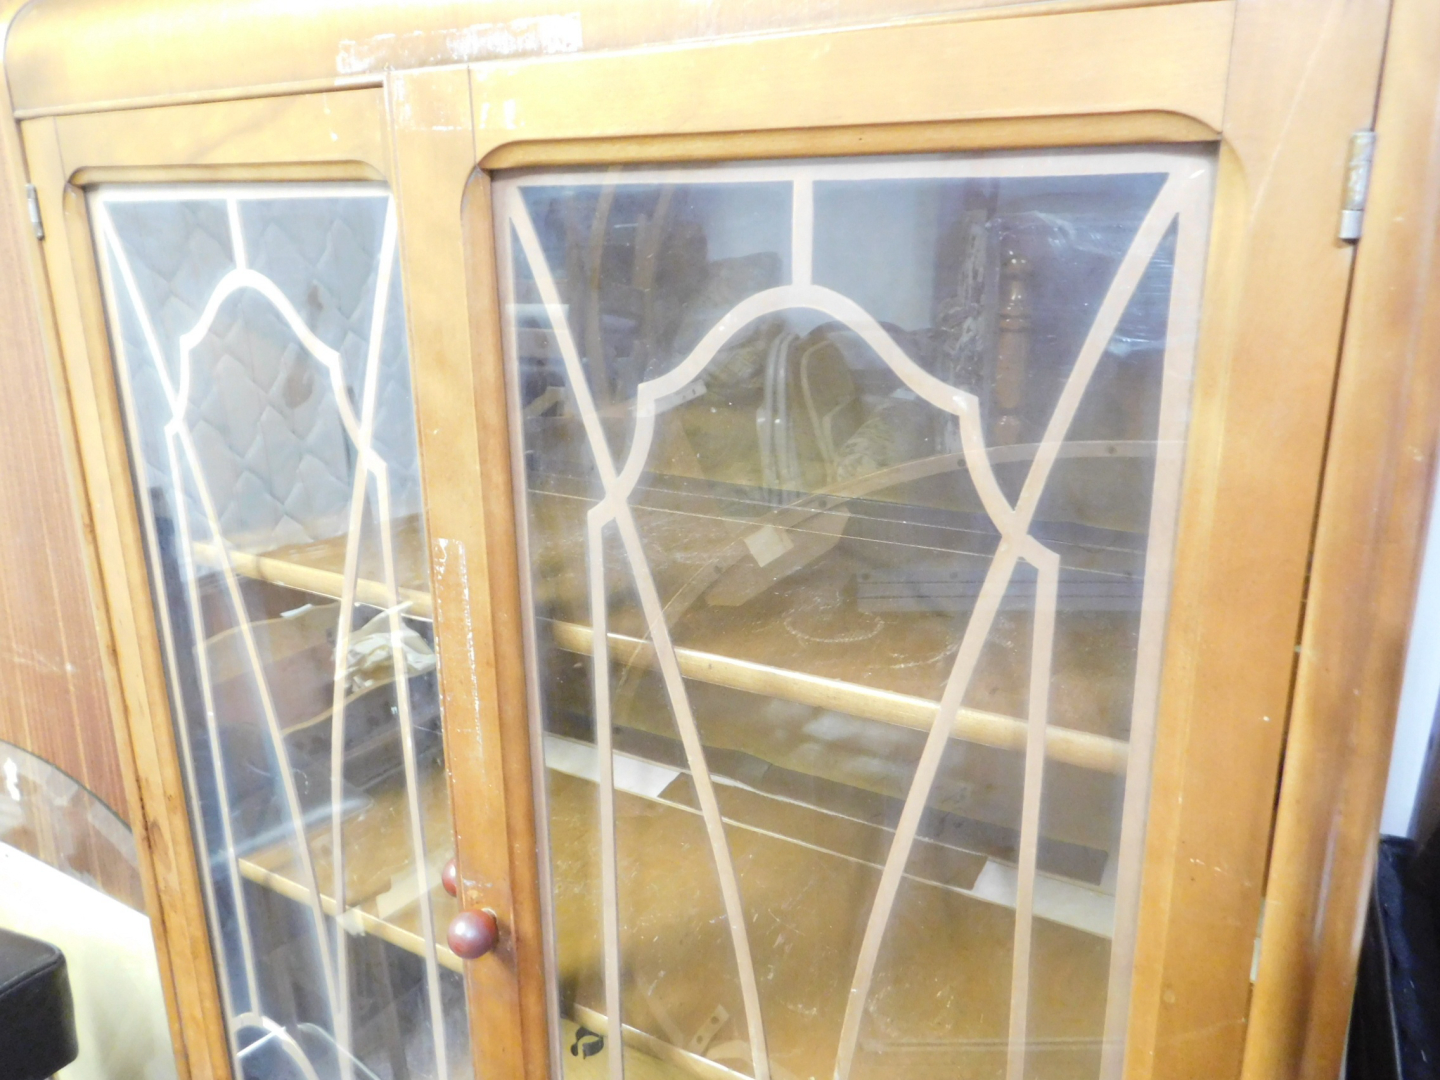
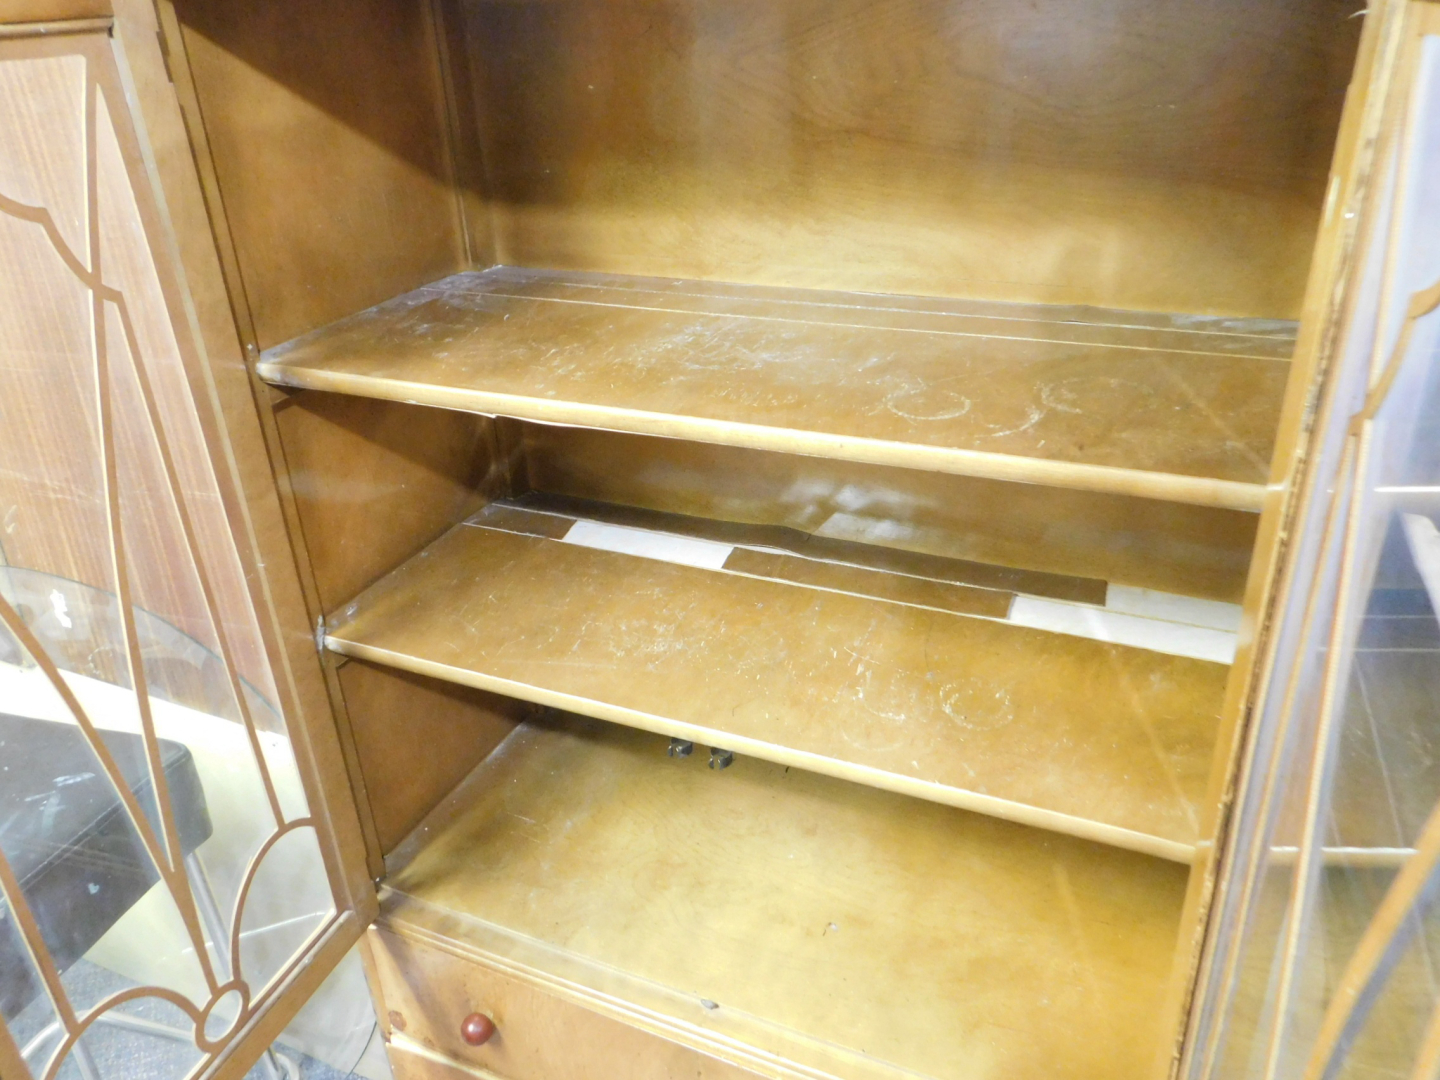
Vintage Art Deco Waterfall Cabinet for Sale
categories:
Household Items
Furniture
St. Catharines, ON
1 day ago
Previous slide
Next slide
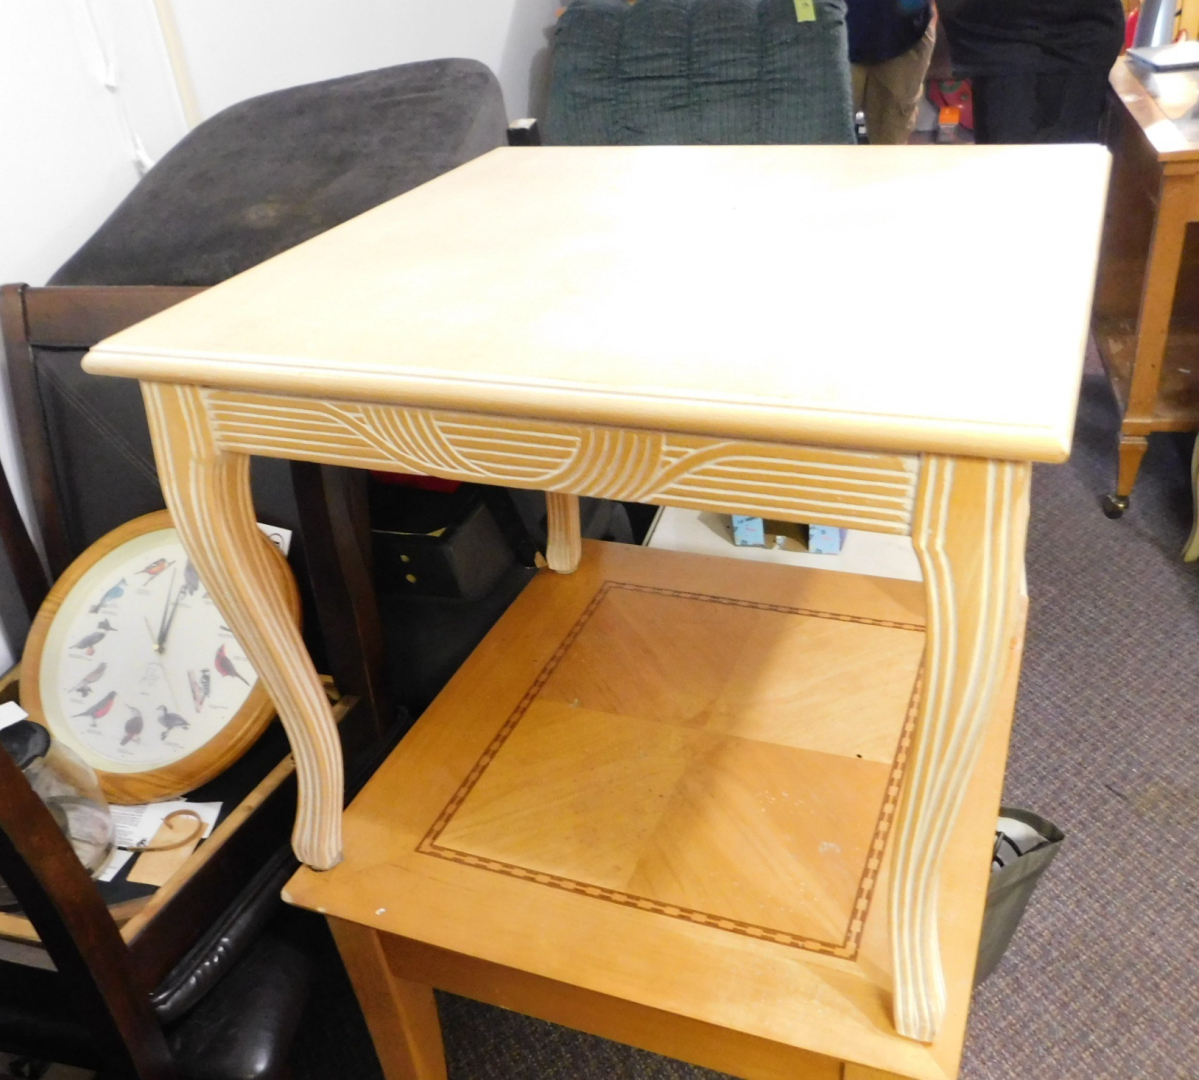
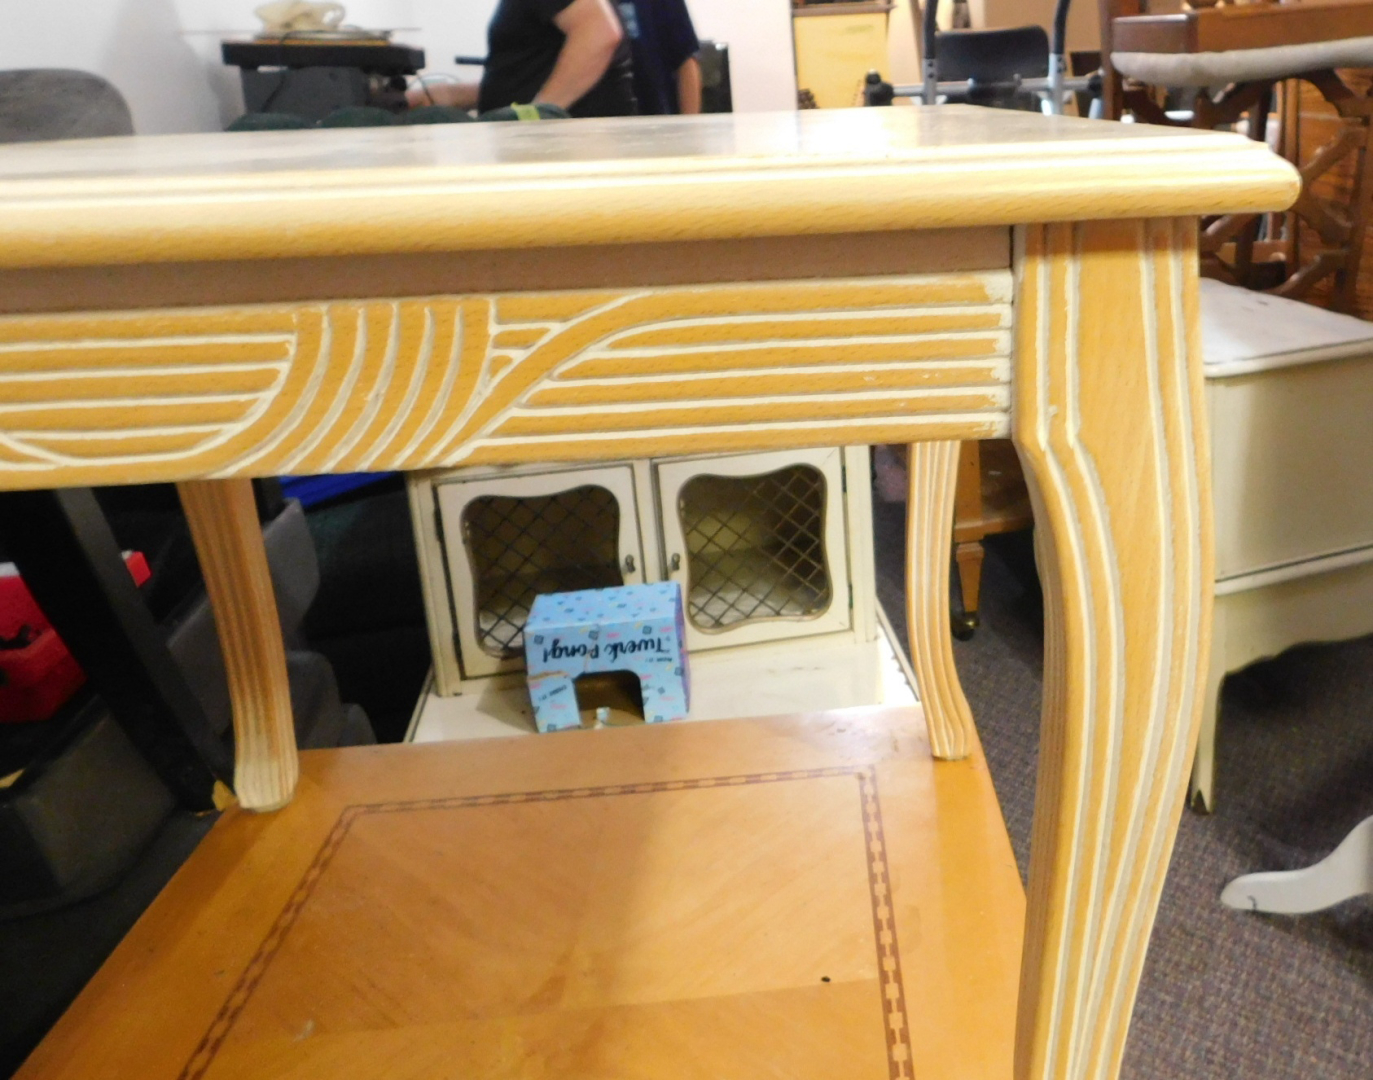
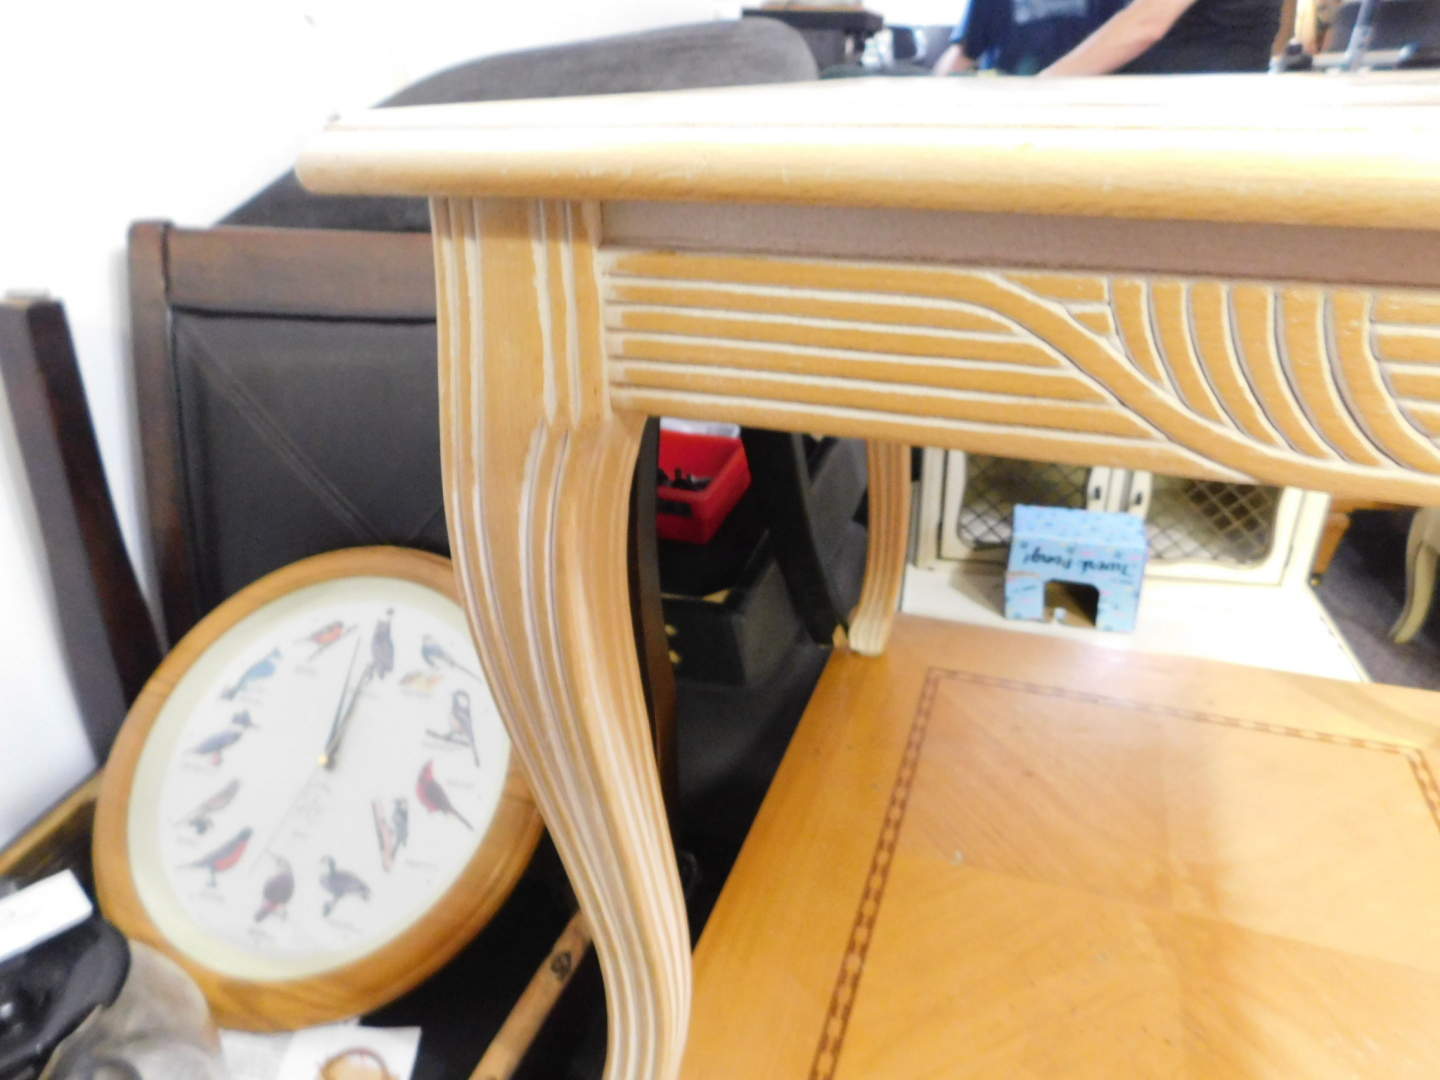
$100
Whitewashed End Table or Coffee Table for Sale
categories:
Household Items
Furniture
Table and Chairs
St. Catharines, ON
1 day ago
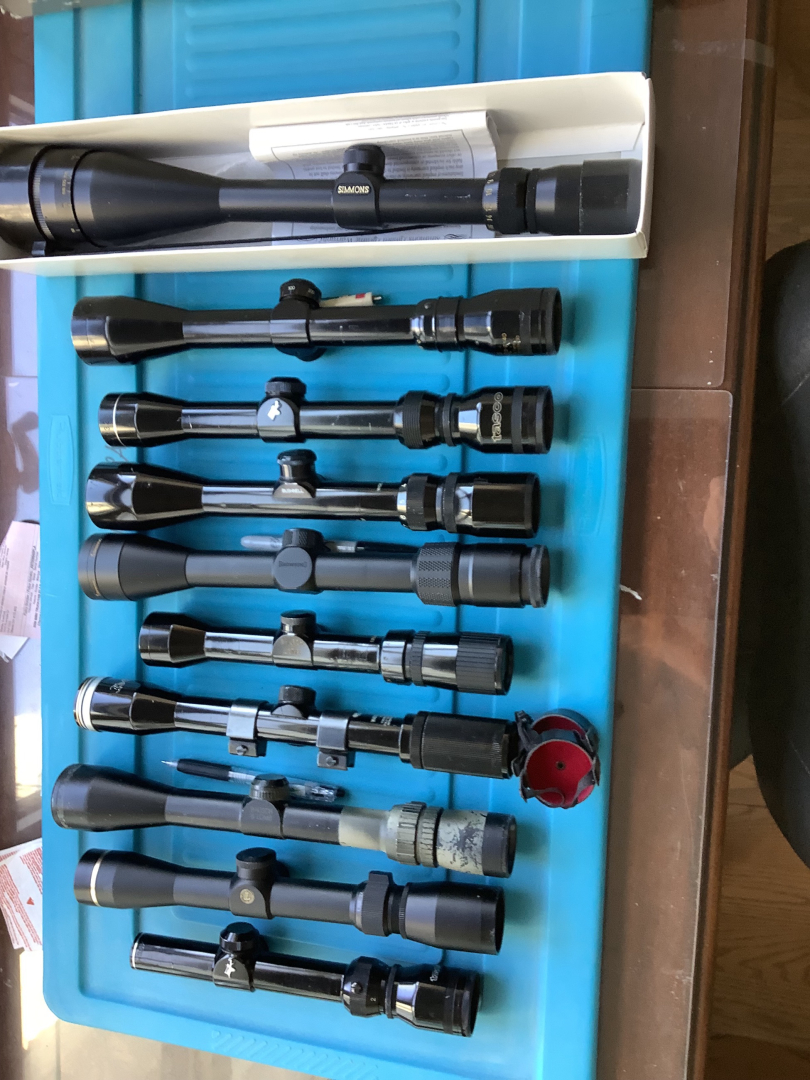
As Listed
WTS - Pick and Pay Scopes
categories:
Sporting Goods
Guns
Ottawa, ON
1 day ago
Previous slide
Next slide
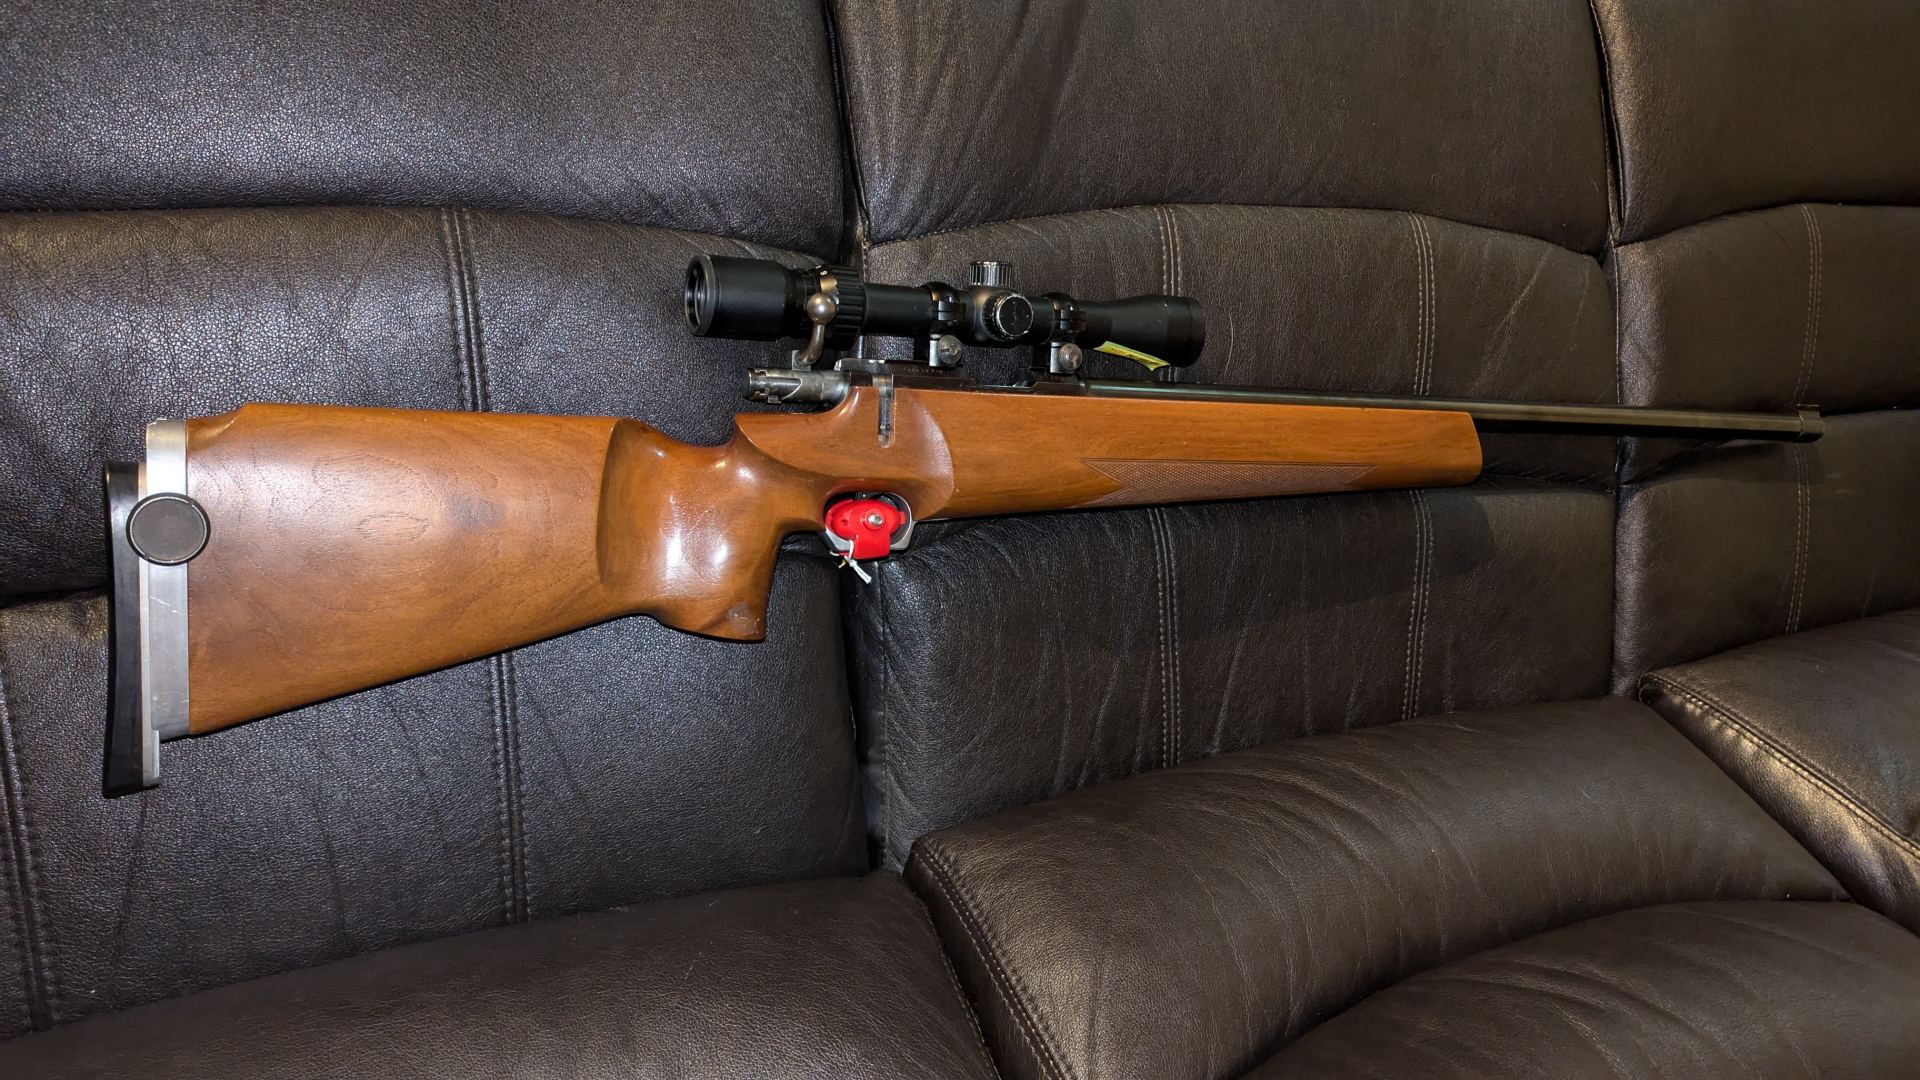
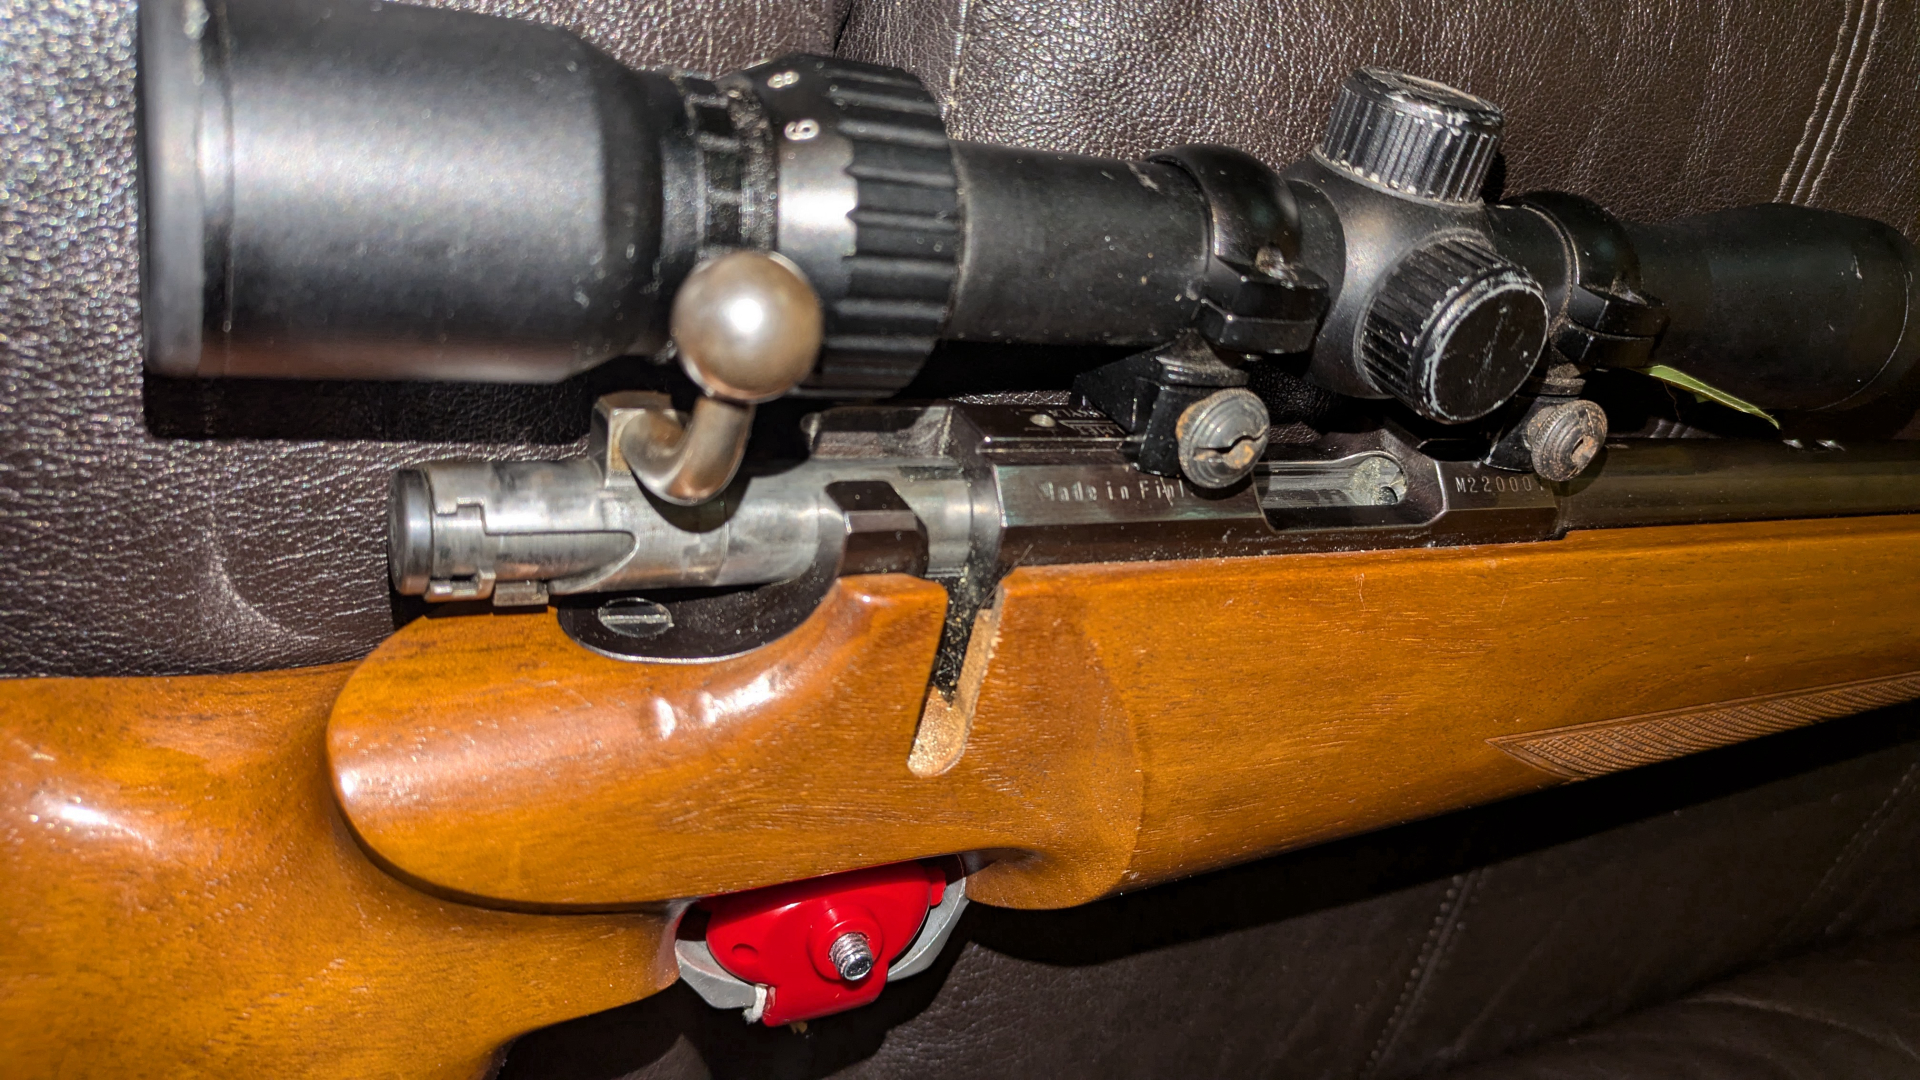
$695
Valmet Jyvaskyla Standard . 22LR Competition single bolt actionValmet Jyvaskyla Standard . 22LR Competition single bolt action
categories:
Sporting Goods
Guns
Saskatoon, SK
1 day ago
Previous slide
Next slide
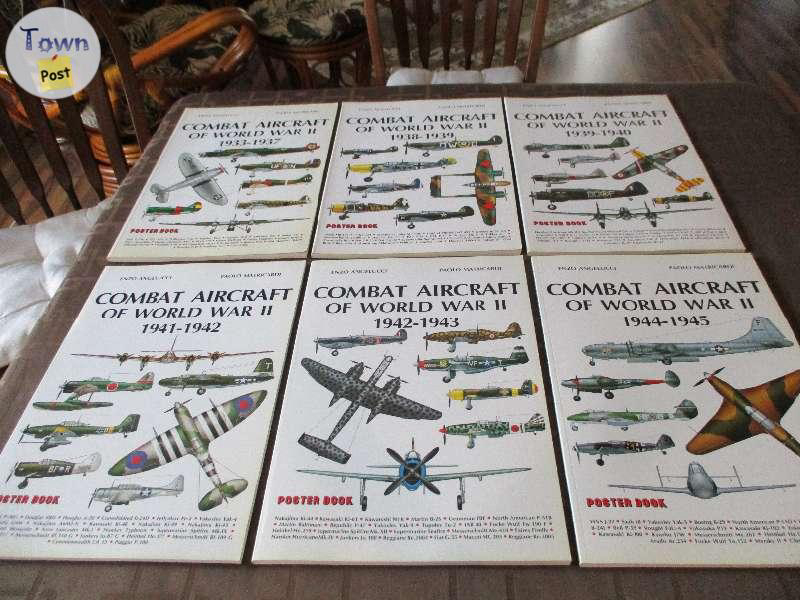
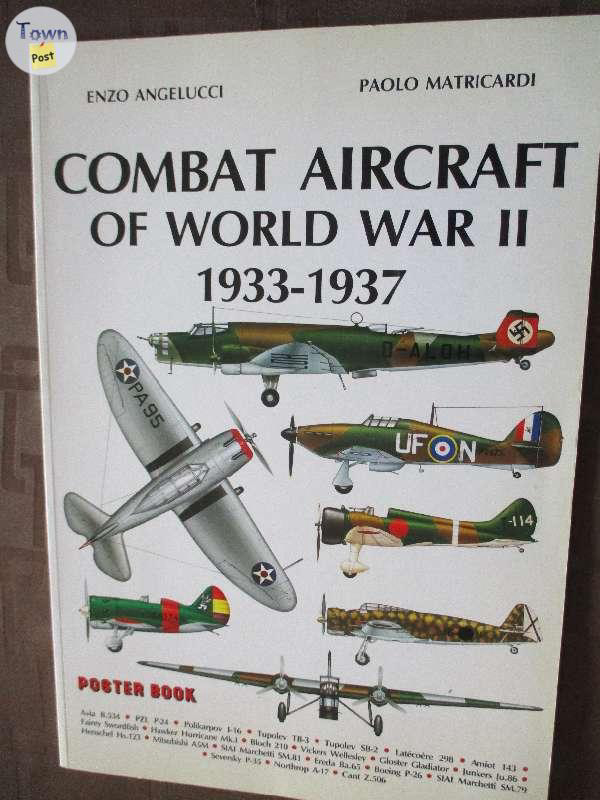
see ad
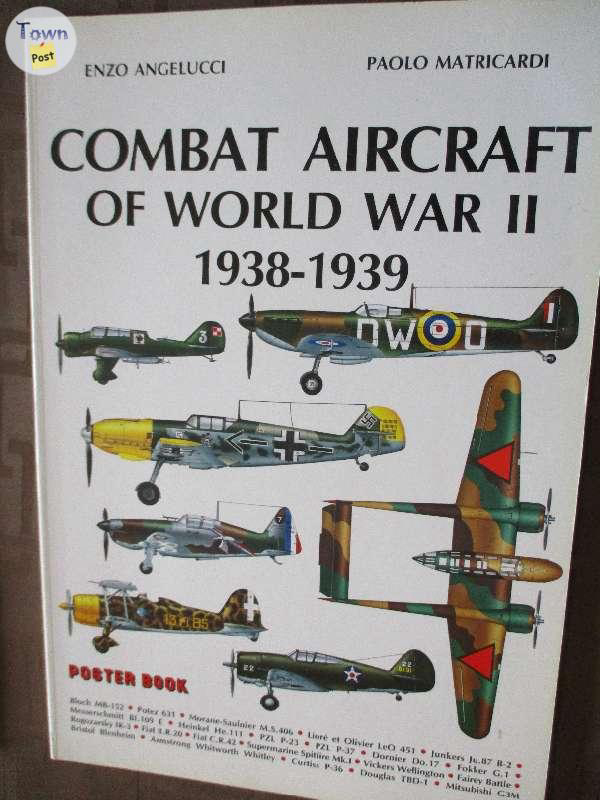
OFFERS WELCOME ~1933 to 1945 - COMBAT AIRCRAFT OF WORLD WAR II
categories:
Household Items
Collectibles
Wetaskiwin, AB
2 days ago
Previous slide
Next slide
Ownership Verified
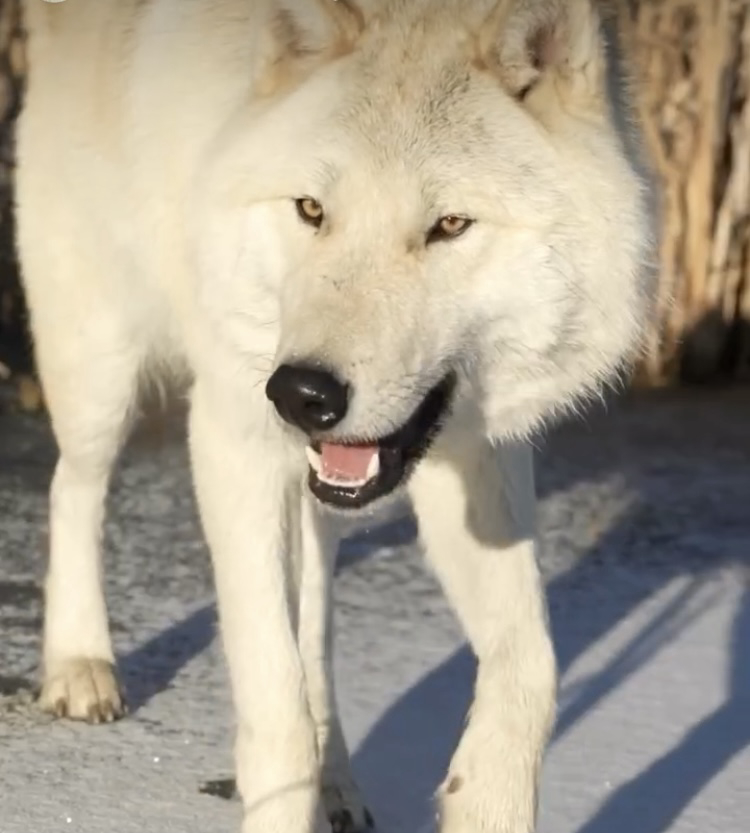
$4500
Wolfdog Puppies (38%) Upcoming Litter (Arctic Type) For Sale
categories:
Pets and Animals
Dogs
Stony Plain, AB
2 days ago
Previous slide
Next slide
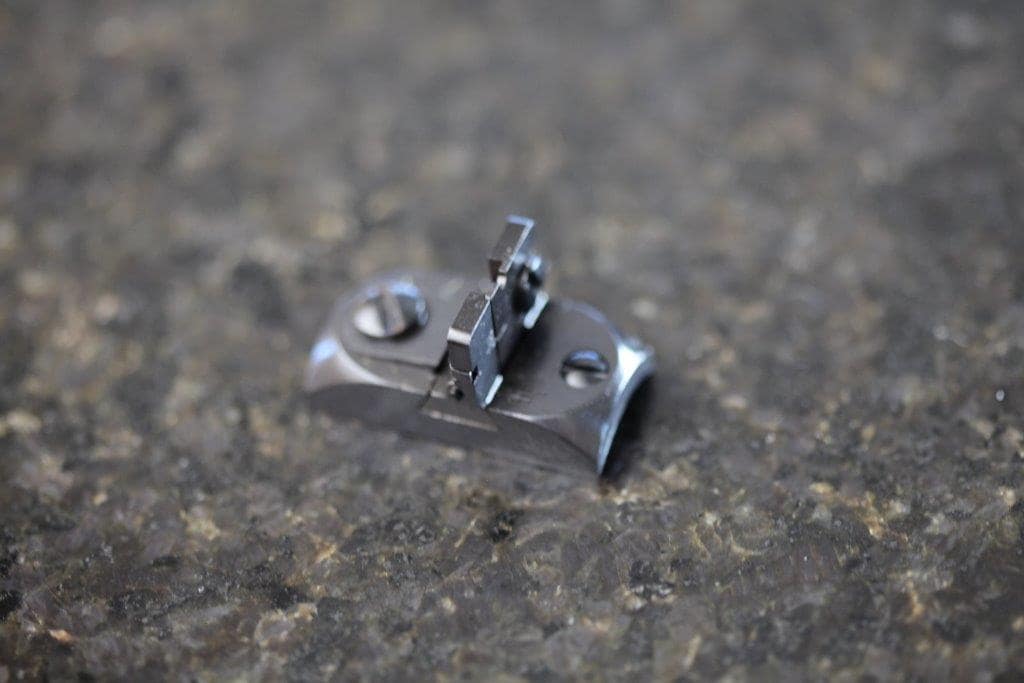
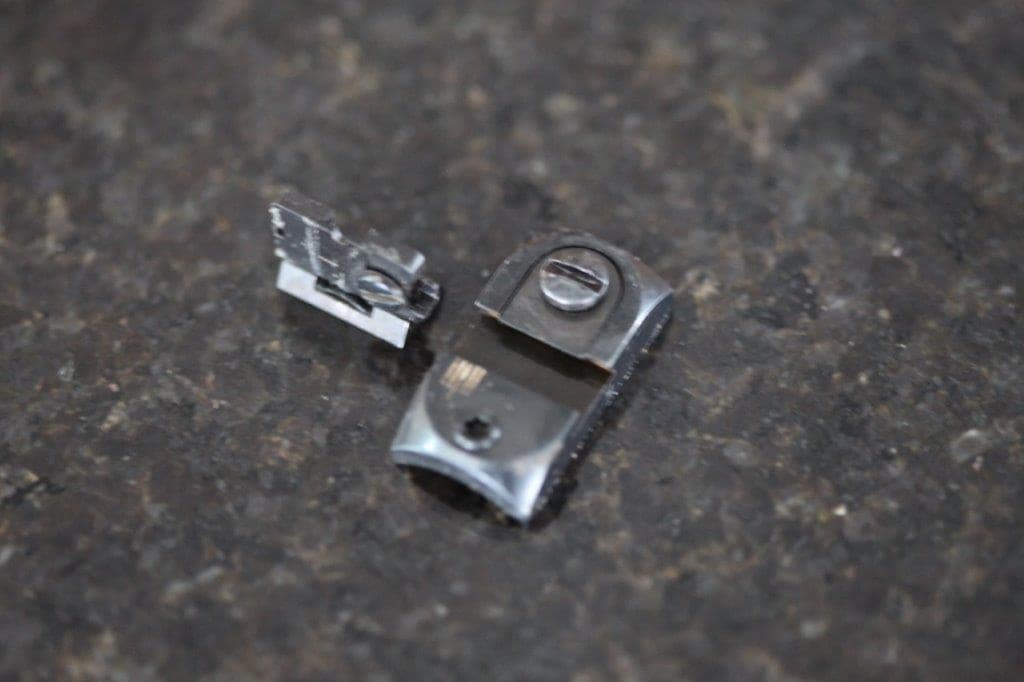
$110.00
Winchester 1894 & (pre 64) Model 94 - Sights, Parts, ......
categories:
Sporting Goods
Guns
Lacombe, AB
2 days ago
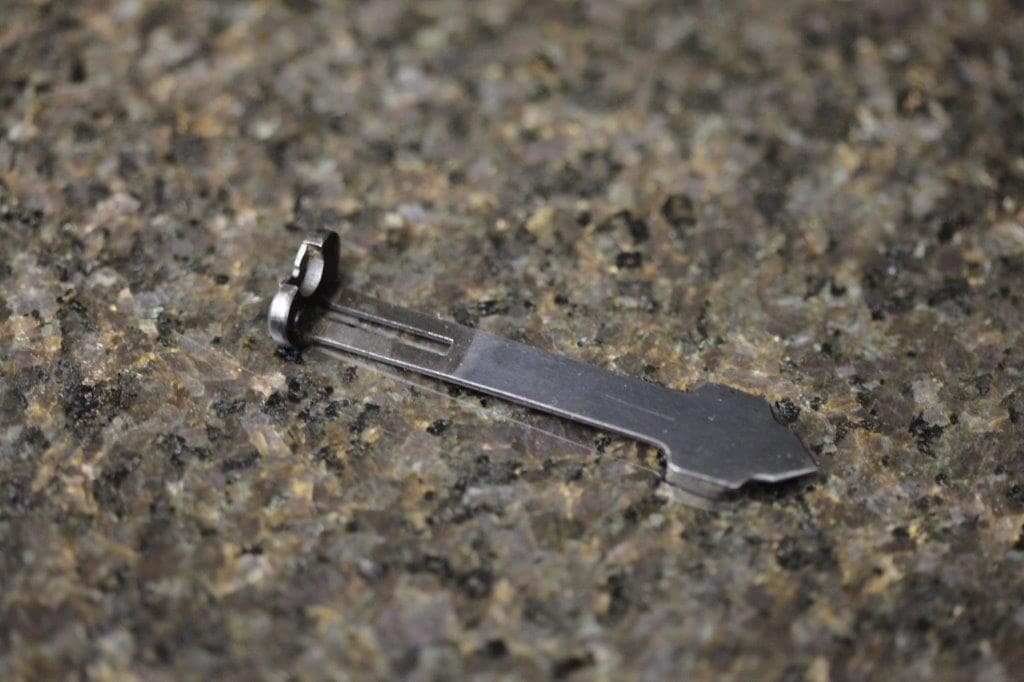
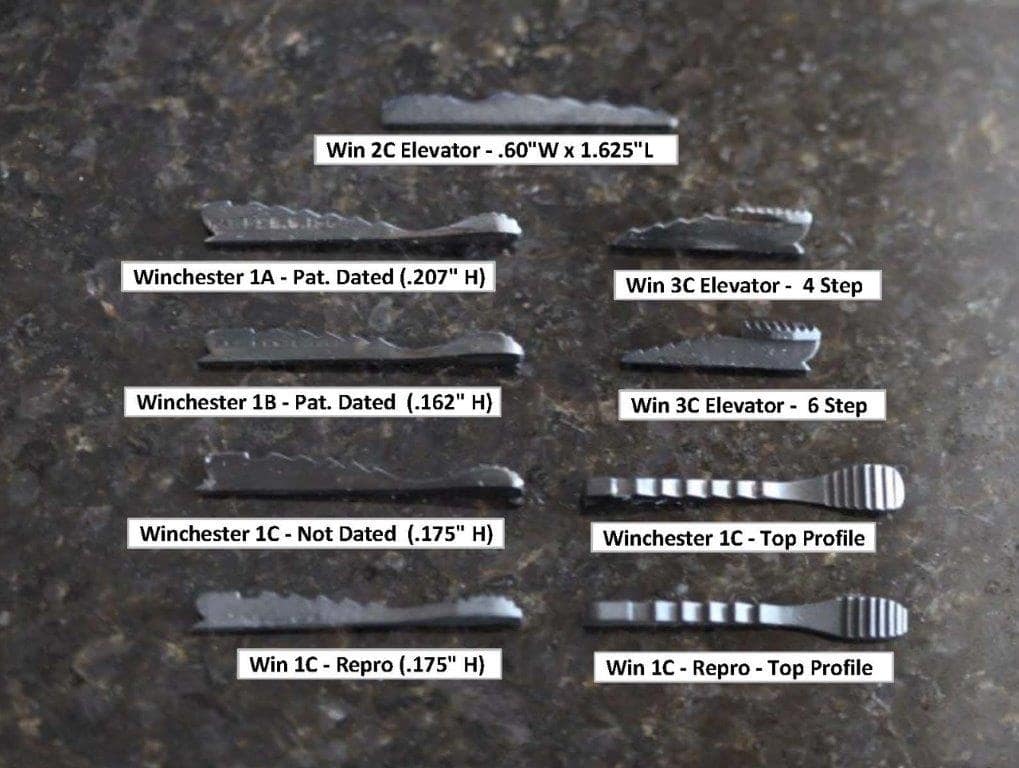
$40.00
Winchester - Elevator - Lifter - Riser
categories:
Sporting Goods
Guns
Lacombe, AB
2 days ago
Previous slide
Next slide
$195.00
Browning - Belgium & Japan - Center Fire Rifles - Sights + Parts
categories:
Sporting Goods
Guns
Alberta
2 days ago
Previous slide
Next slide
$40.00
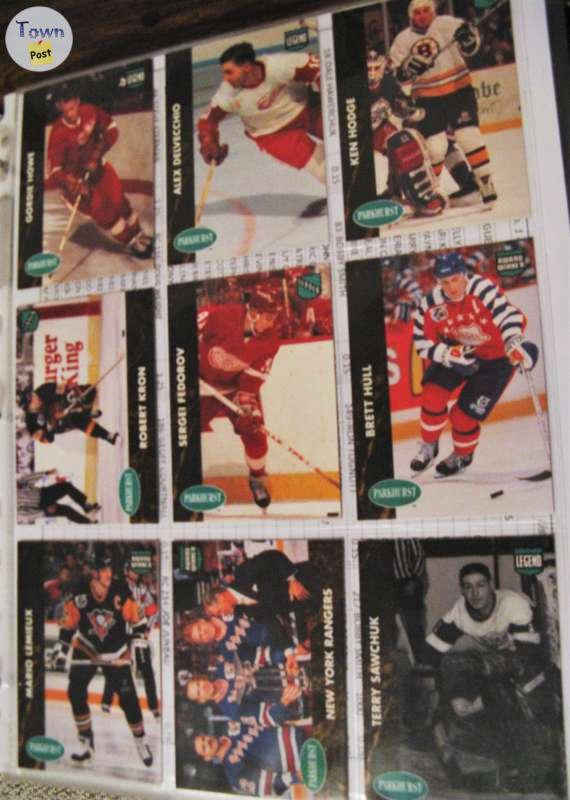
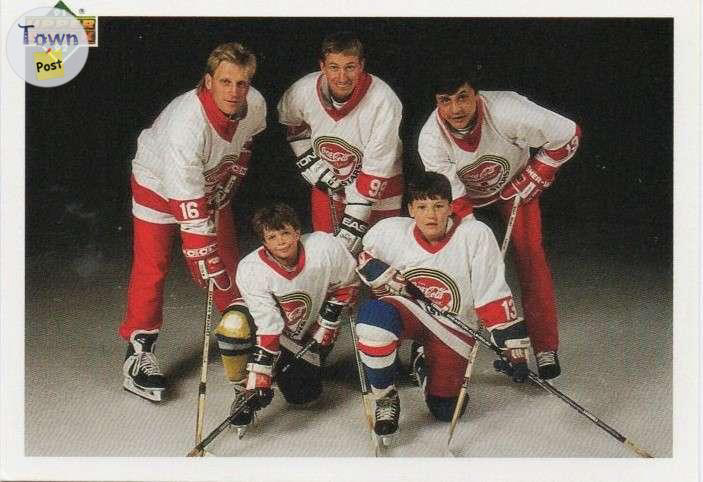
1991-92 PARKHURST #1-450 COMPLETE SET and HOCKEY GREATS PCH1-9
categories:
Sporting Goods
Hockey Equipment
Wetaskiwin, AB
2 days ago
Previous slide
Next slide
$20.00
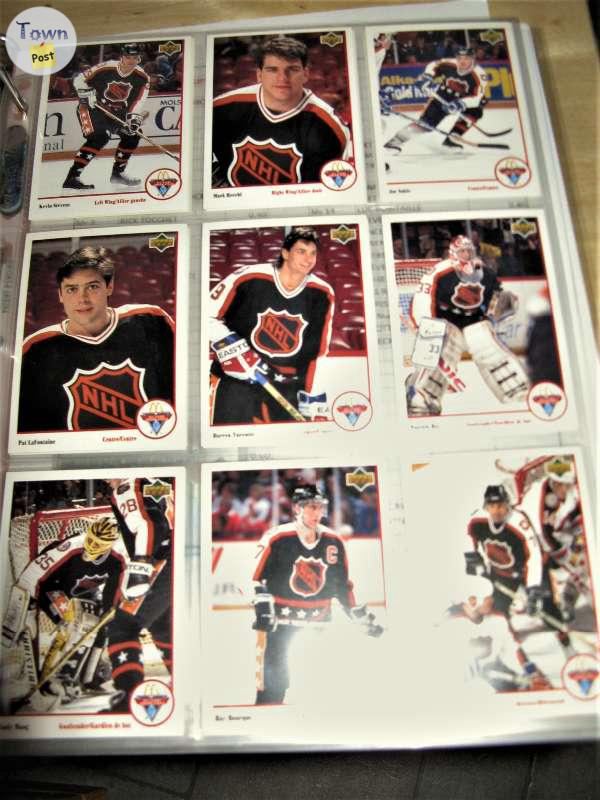
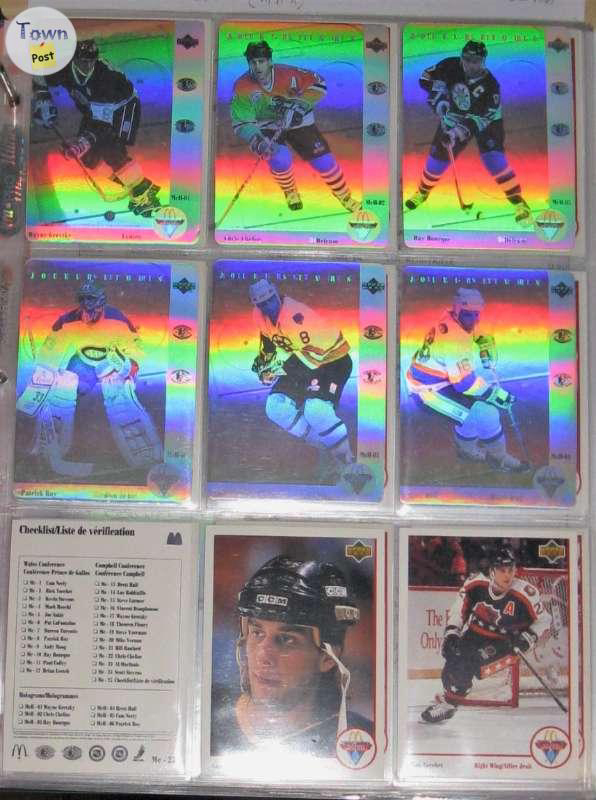
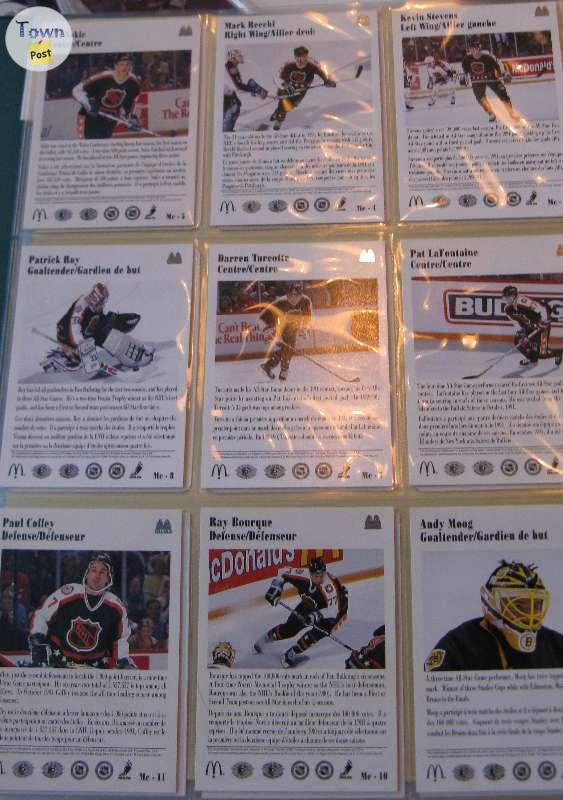
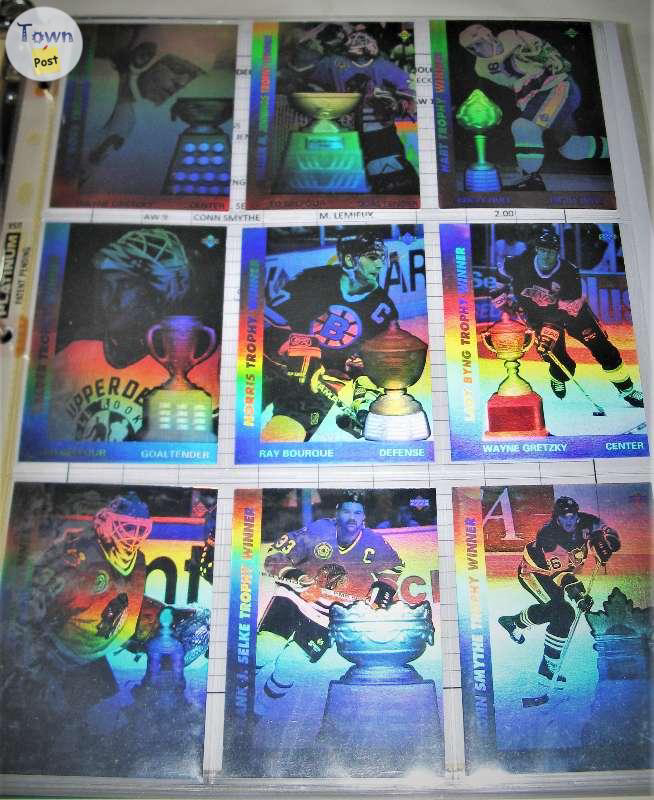
1991 McDONALDS – UPPER DECK HOLOGRAMS and ALLSTARS
categories:
Sporting Goods
Hockey Equipment
Wetaskiwin, AB
2 days ago
Previous slide
Next slide
$4 to $20
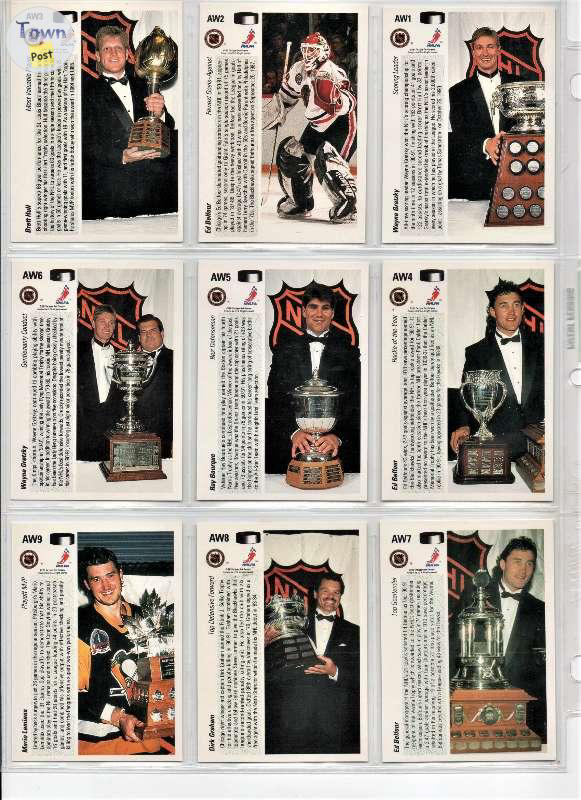
1991 UPPER DECK SPECIAL SINGLES – AWARD HOLOGRAMS, GRETZKY, EUROSTARS, HEROES
categories:
Sporting Goods
Hockey Equipment
Wetaskiwin, AB
2 days ago
Previous slide
Next slide
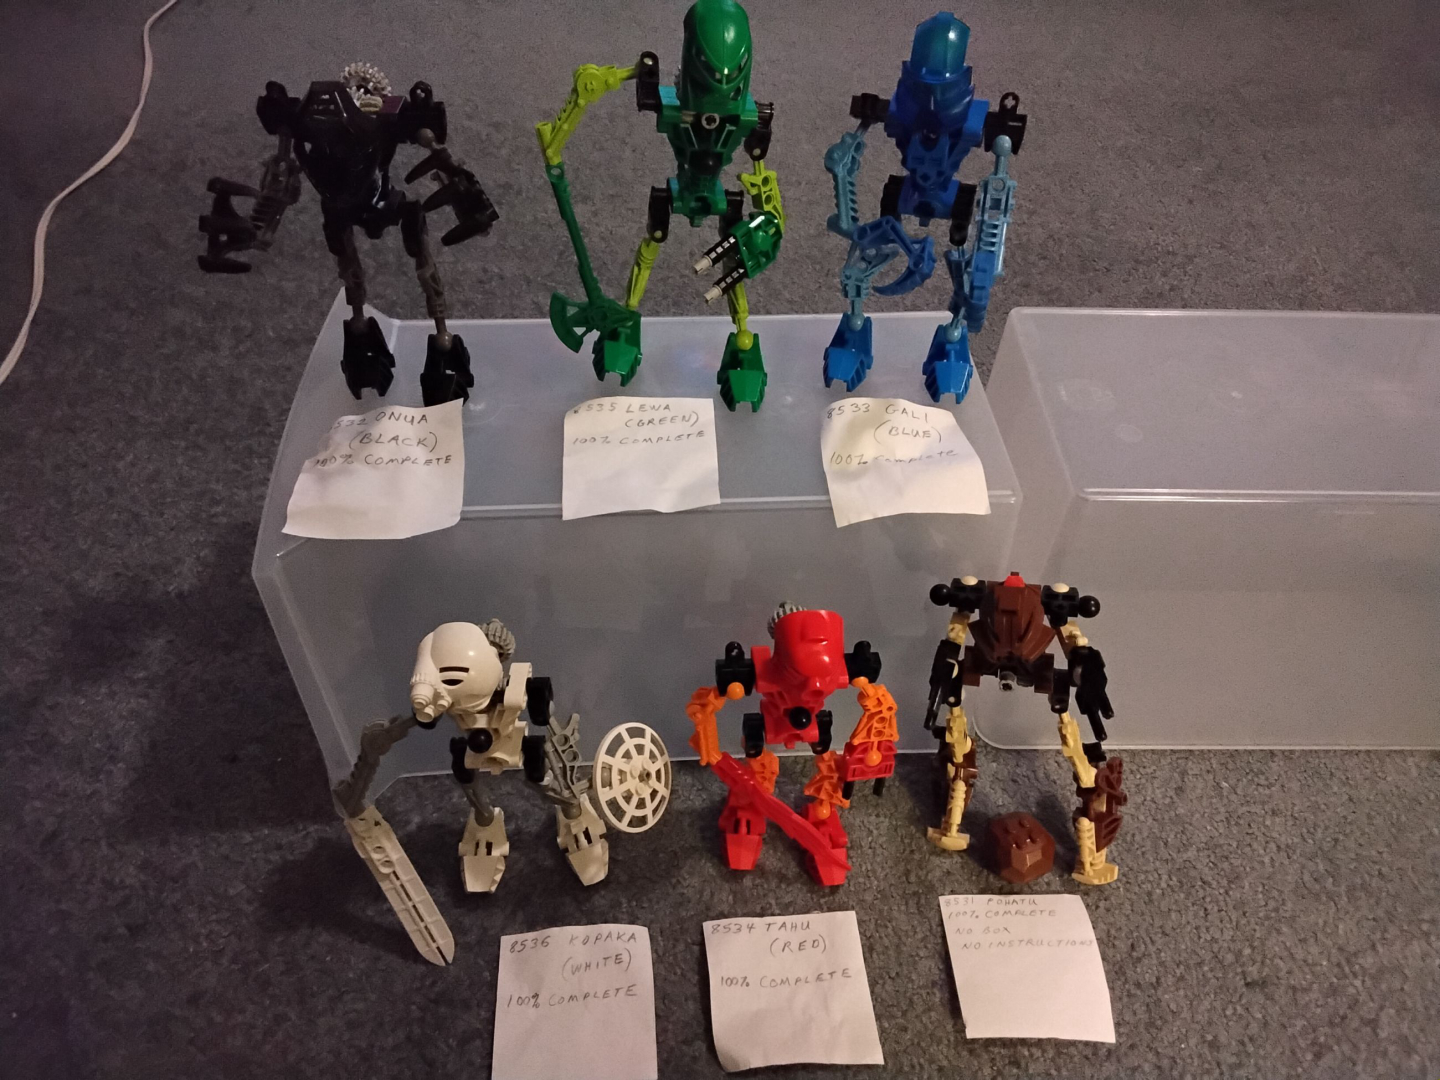
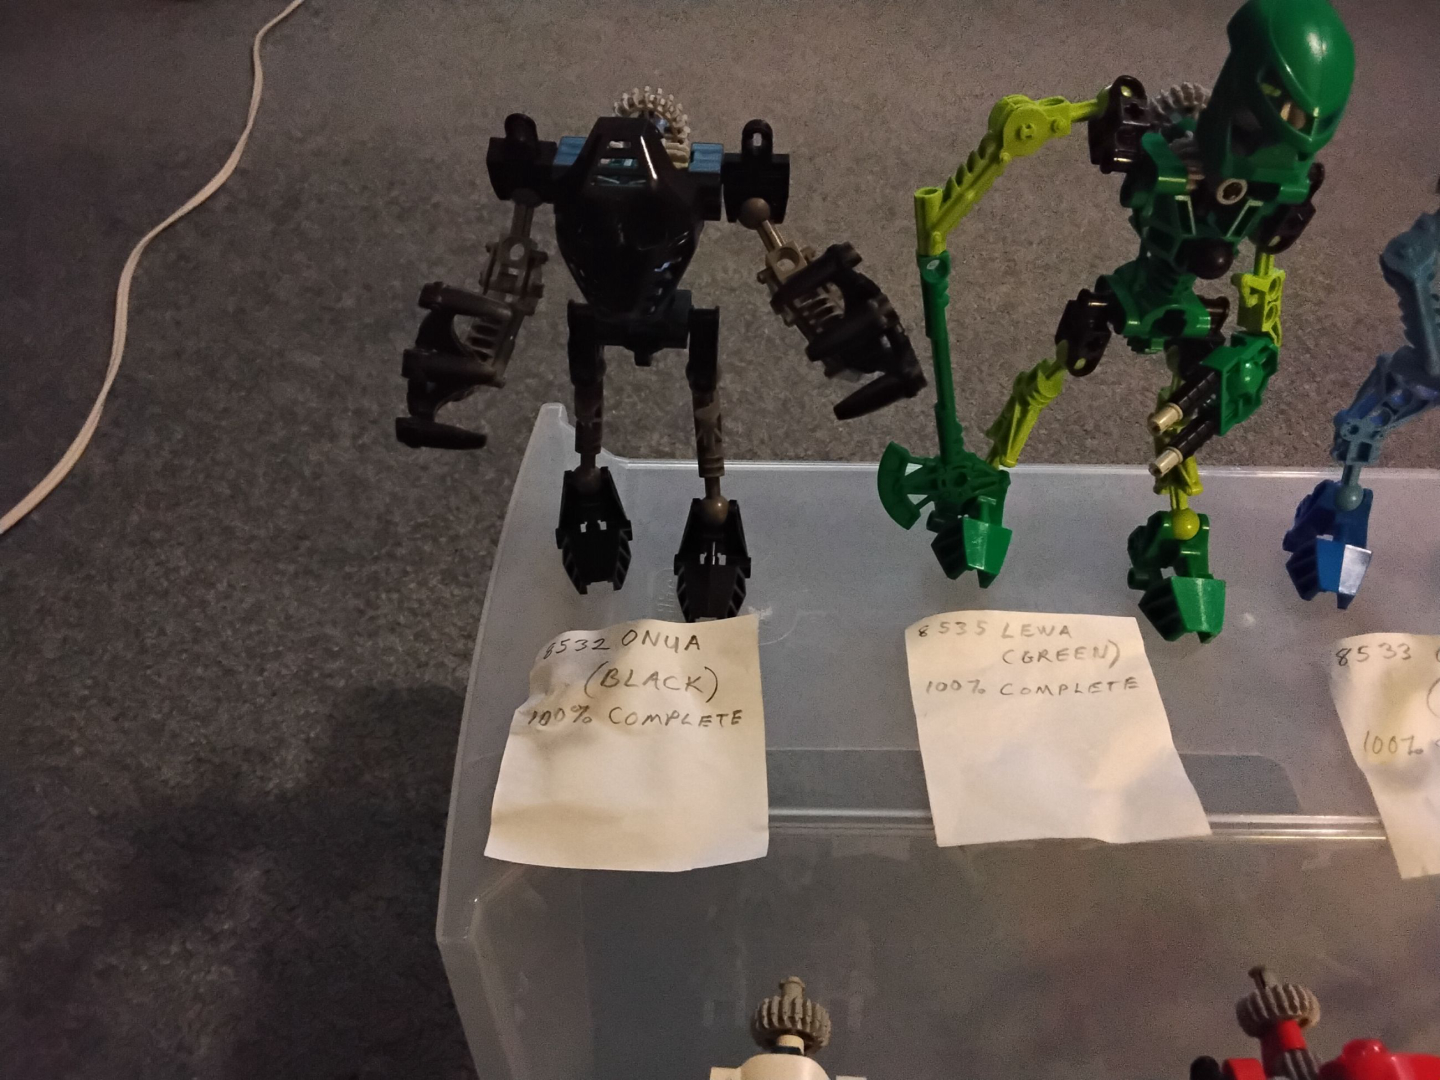
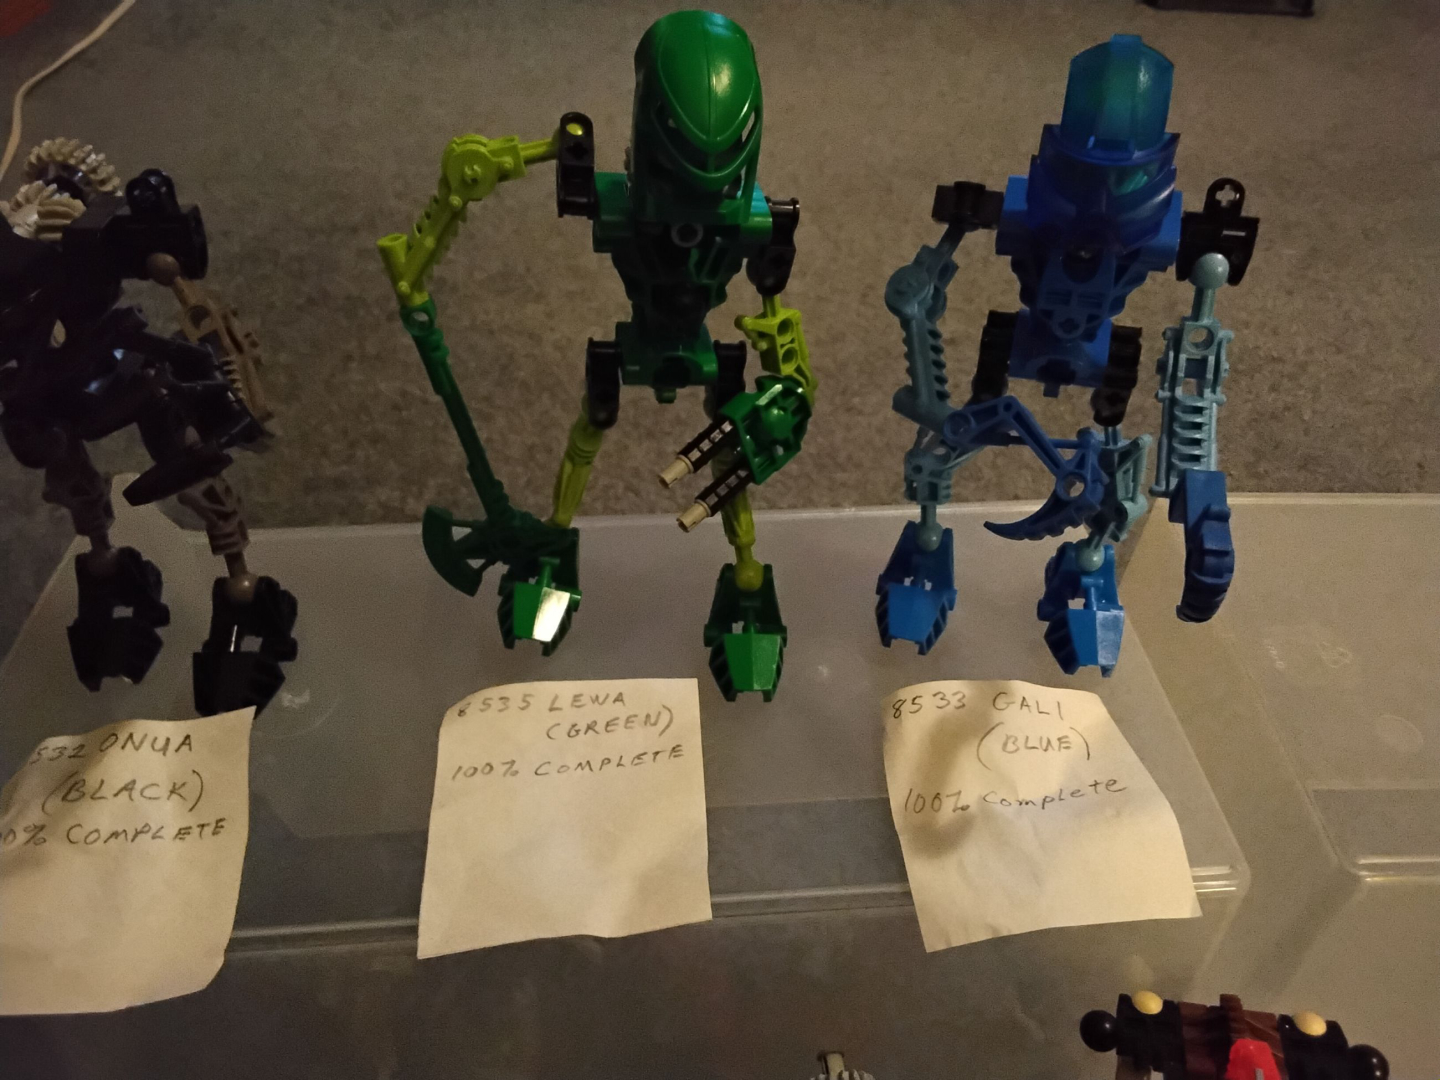
$30
6 lego bionicles 100% complete, no box or instructions, $30-$45 each
categories:
Household Items
Collectibles
St. Albert, AB
2 days ago
Previous slide
Next slide
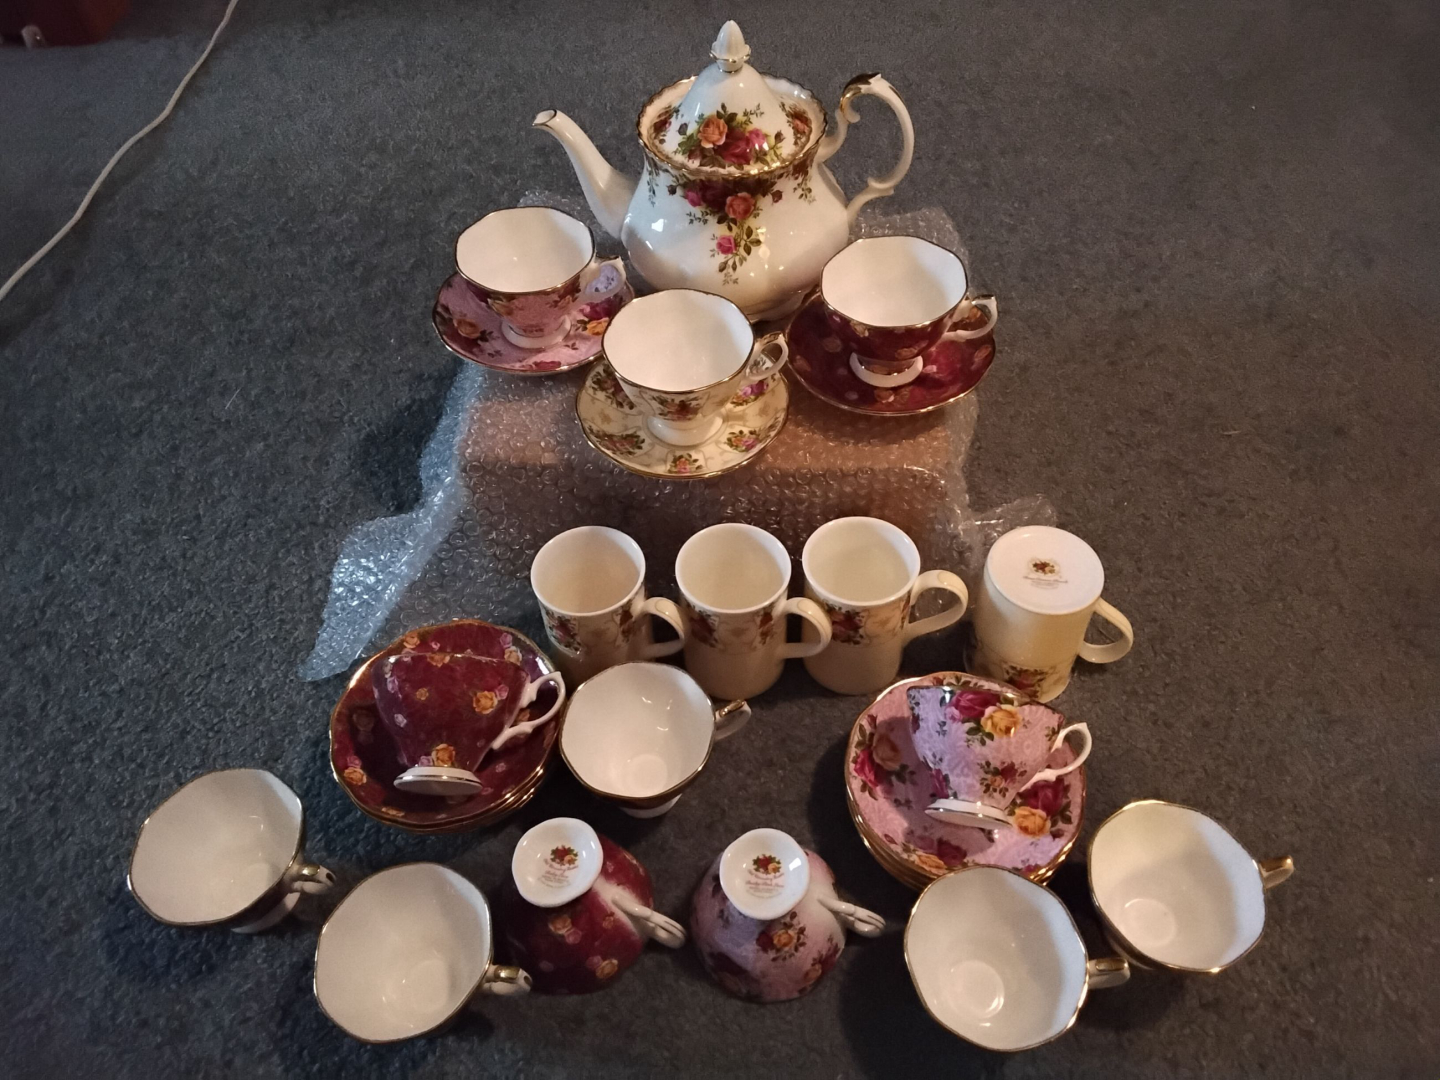
$20
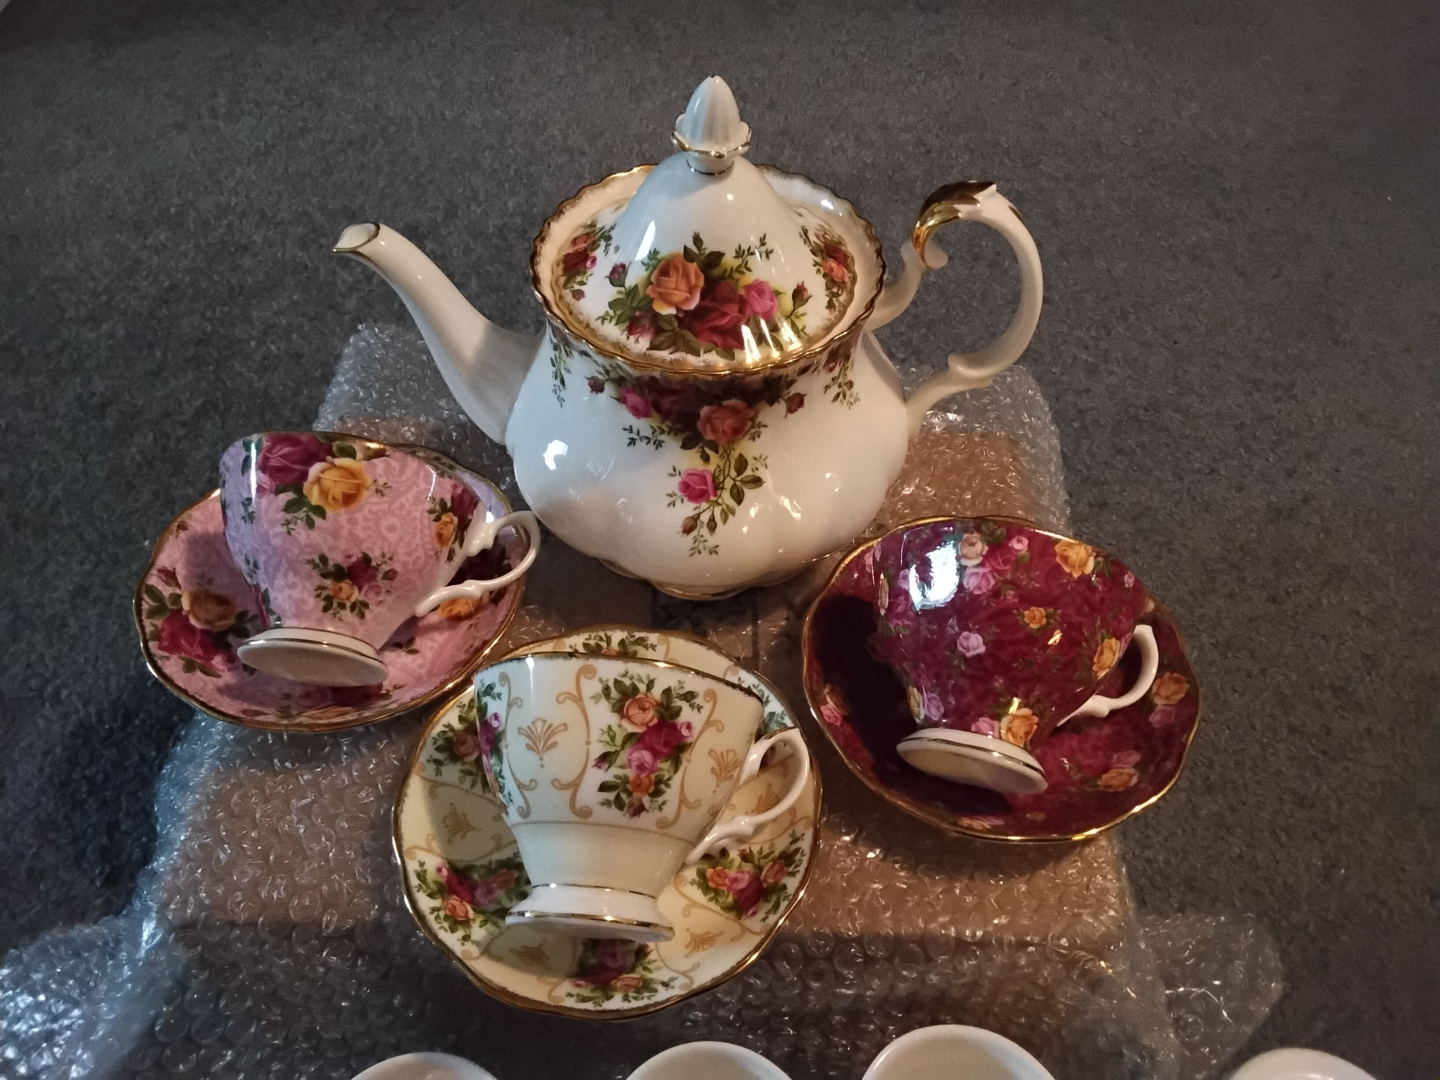
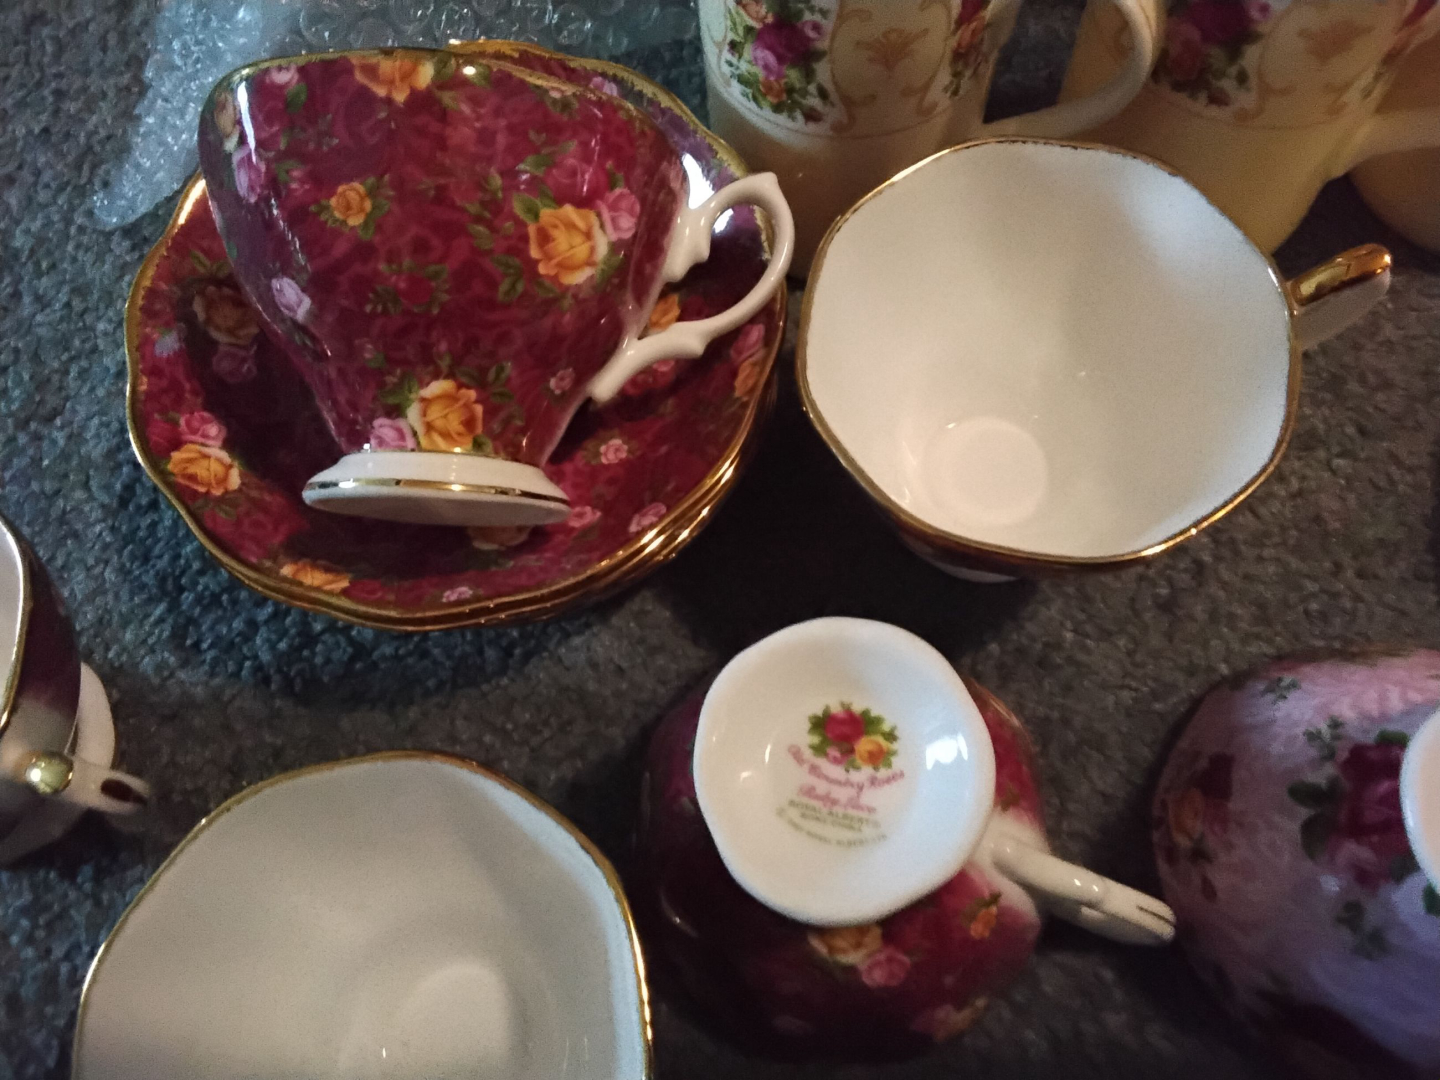
Royal Albert Cameo Rose cup&saucer, mugs, Old Country teacups and saucers, teapot SOLD
categories:
Household Items
Collectibles
St. Albert, AB
2 days ago
Previous slide
Next slide
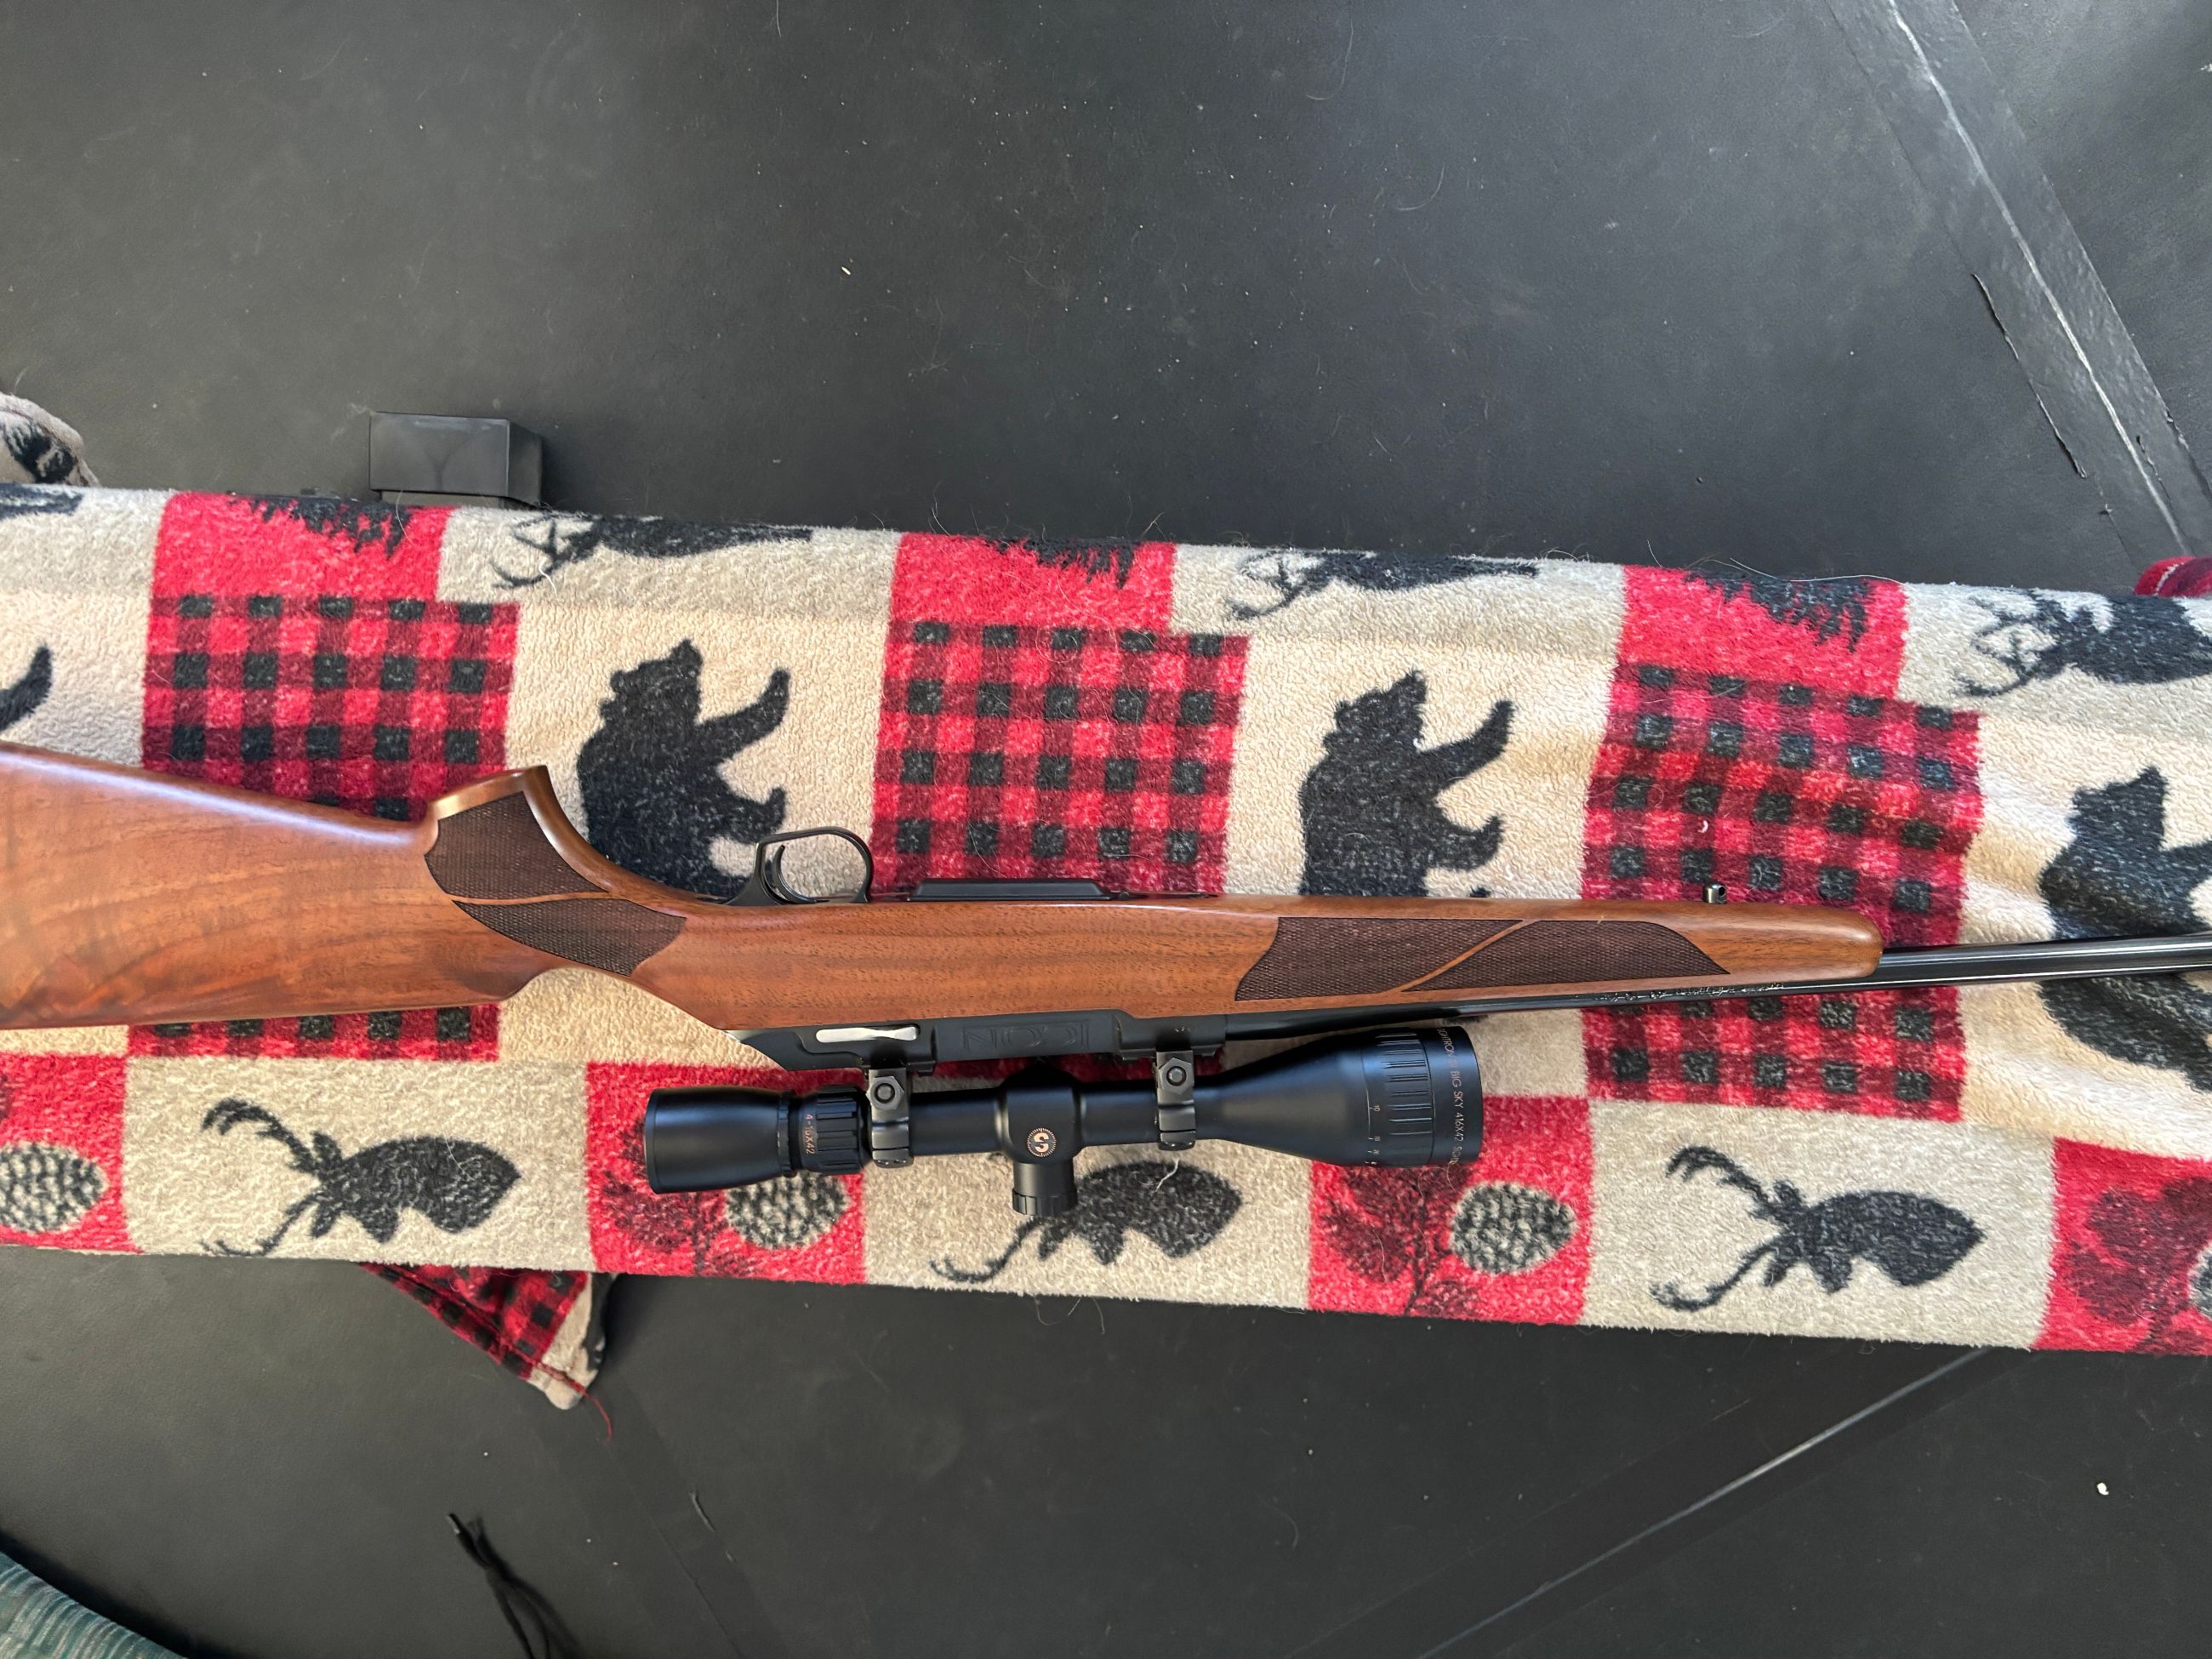
Ownership Verified
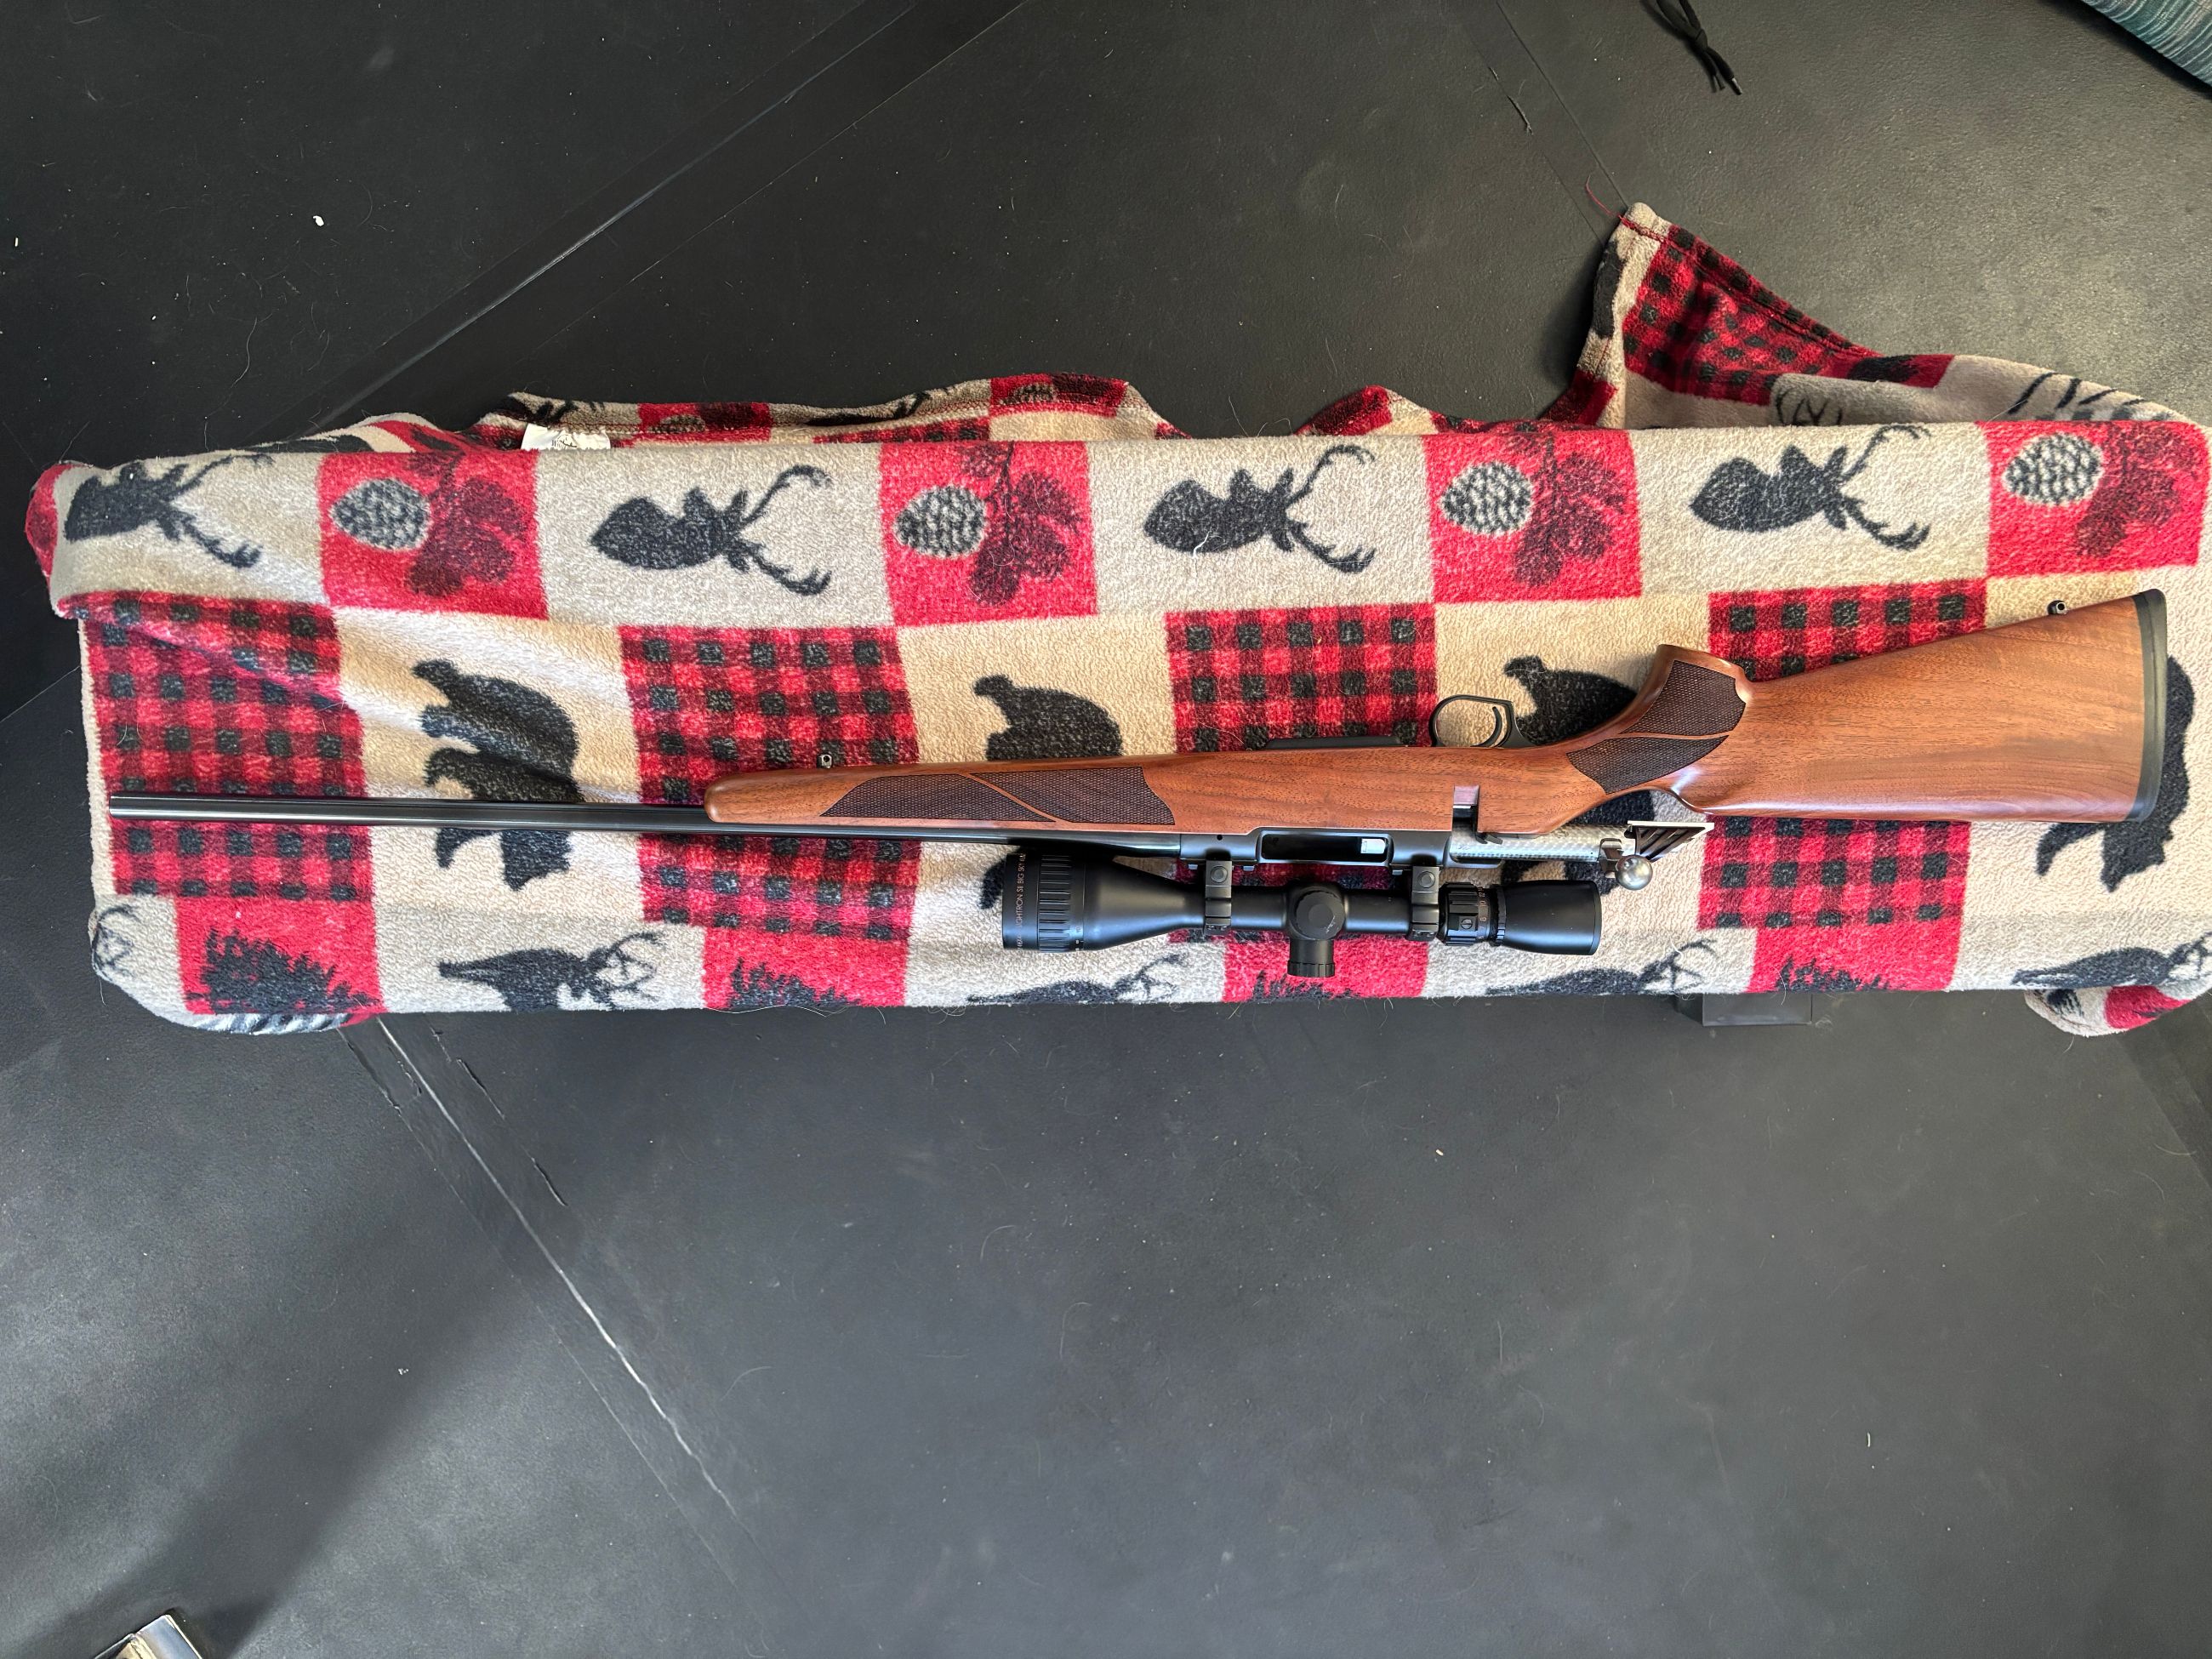
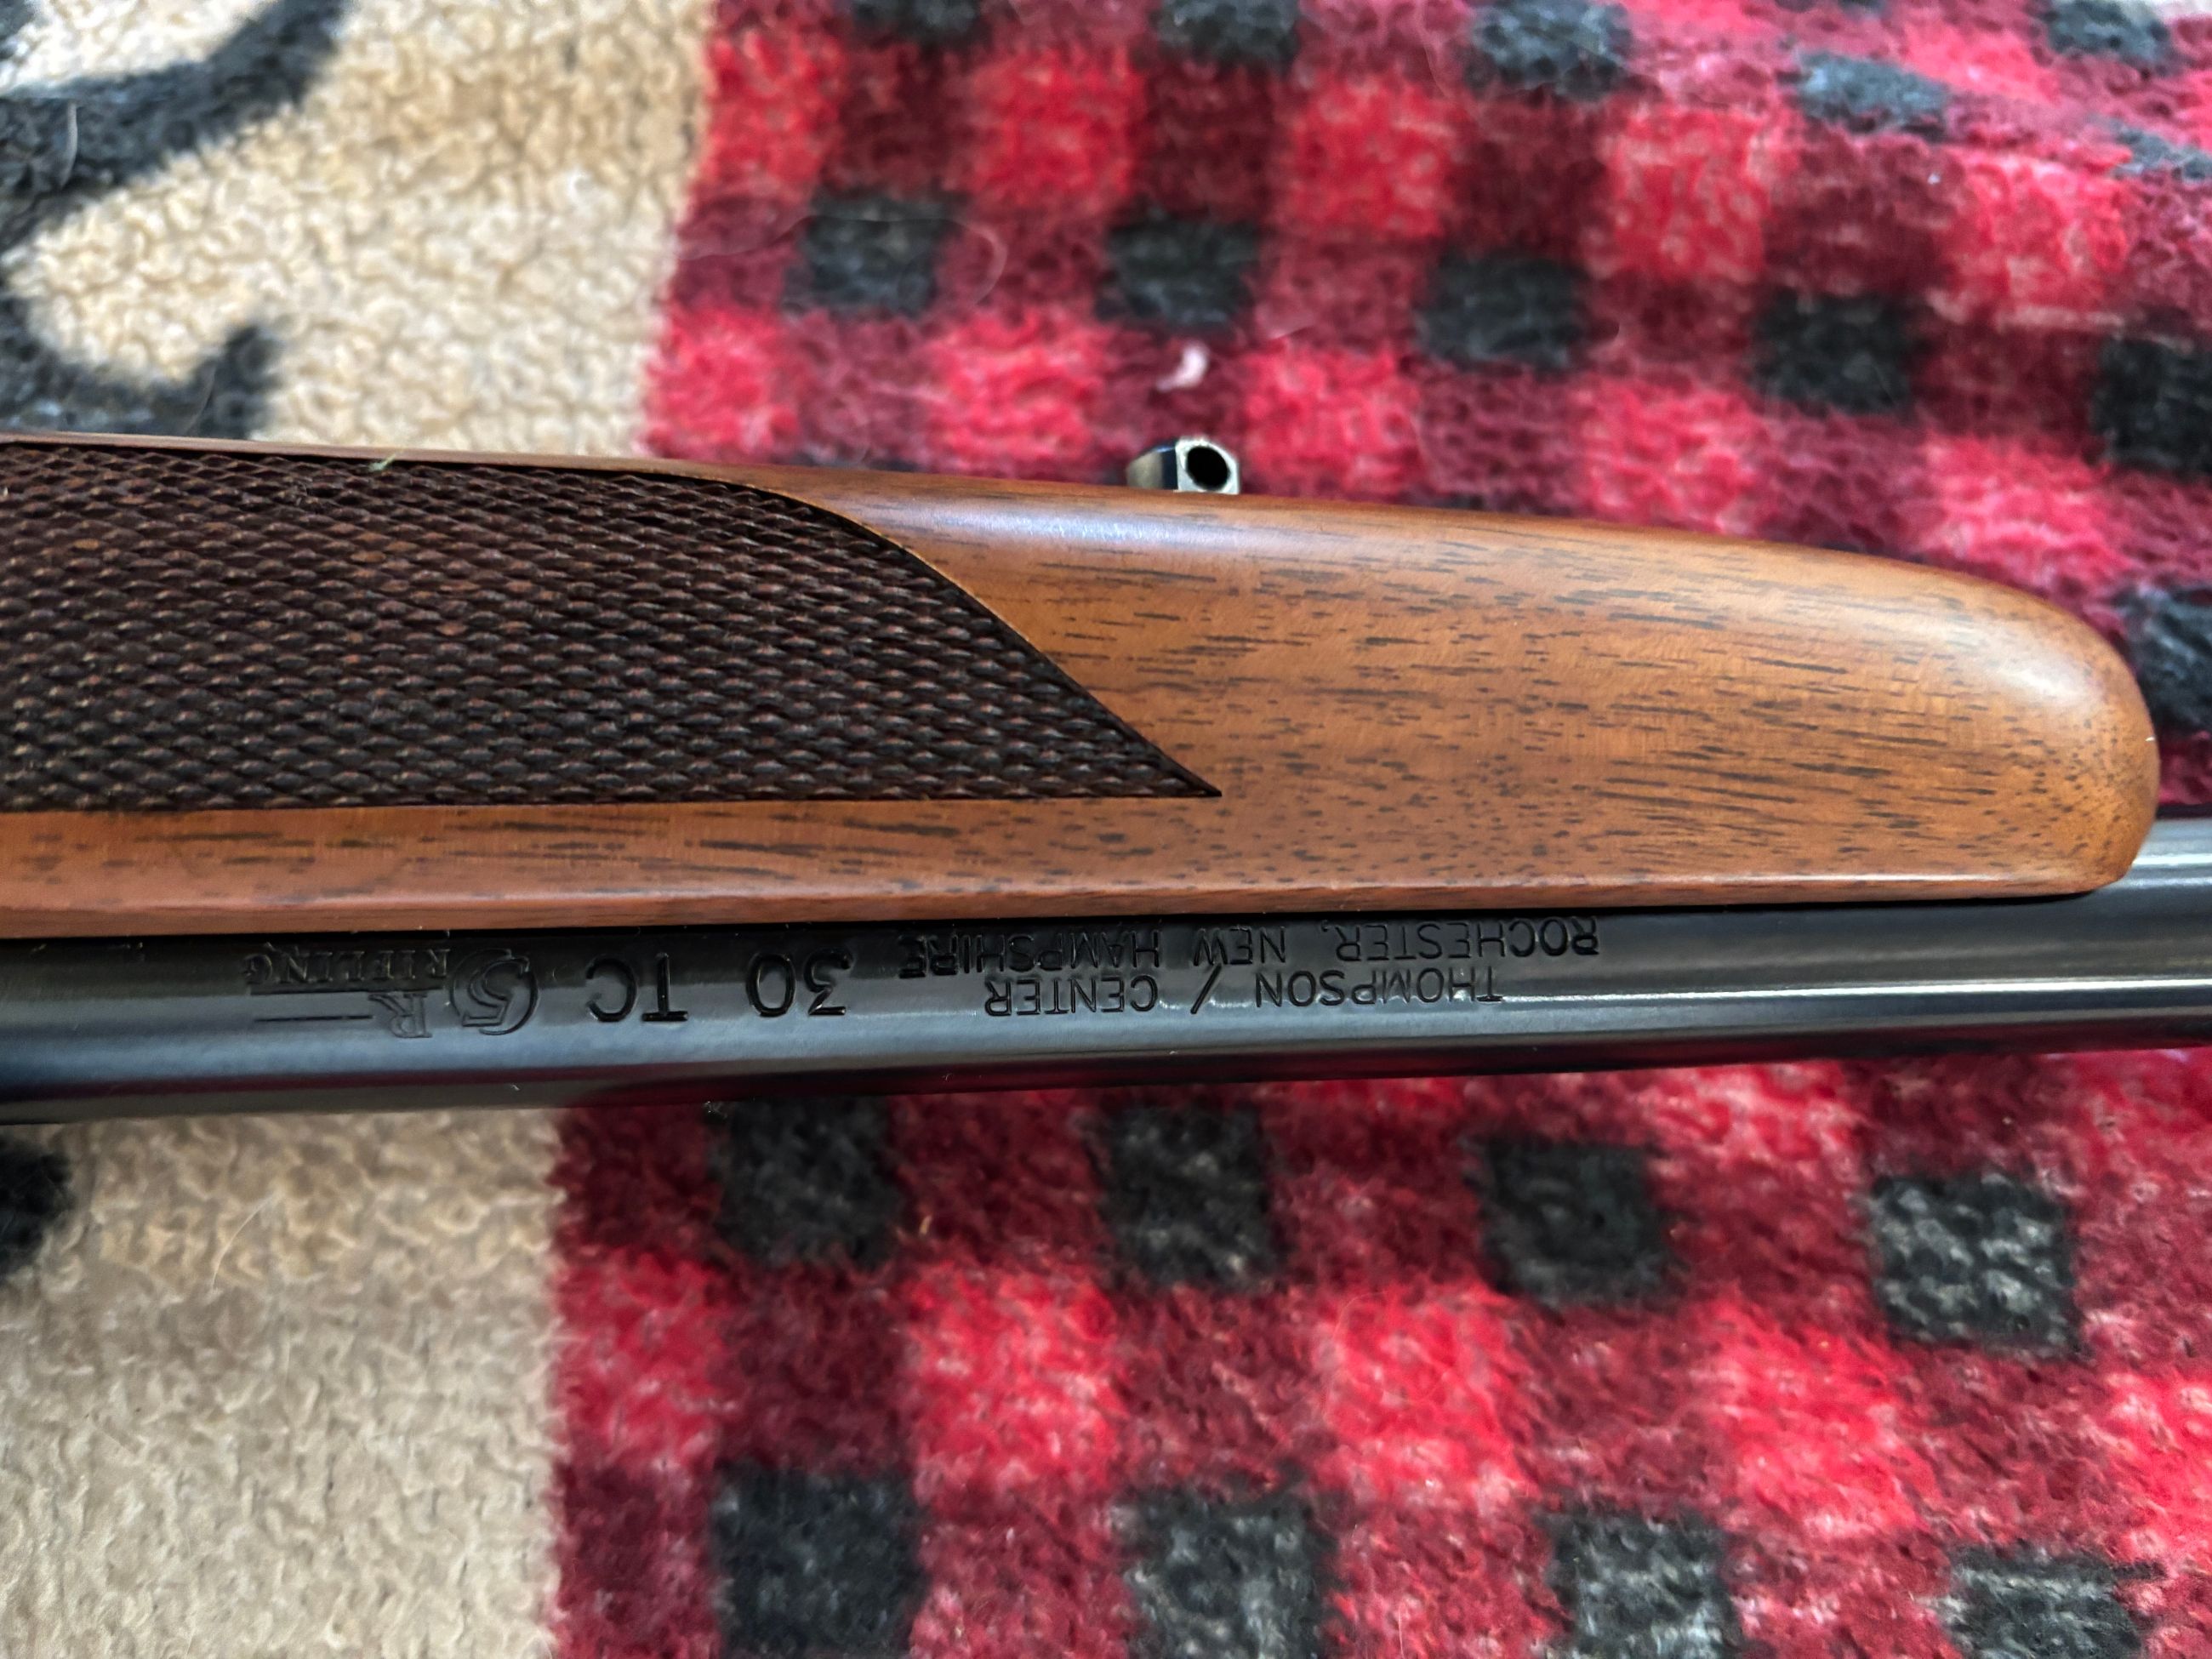
$2200
Thompson Center Icon 30TC
categories:
Sporting Goods
Guns
Grande Cache, AB
3 days ago
Previous slide
Next slide
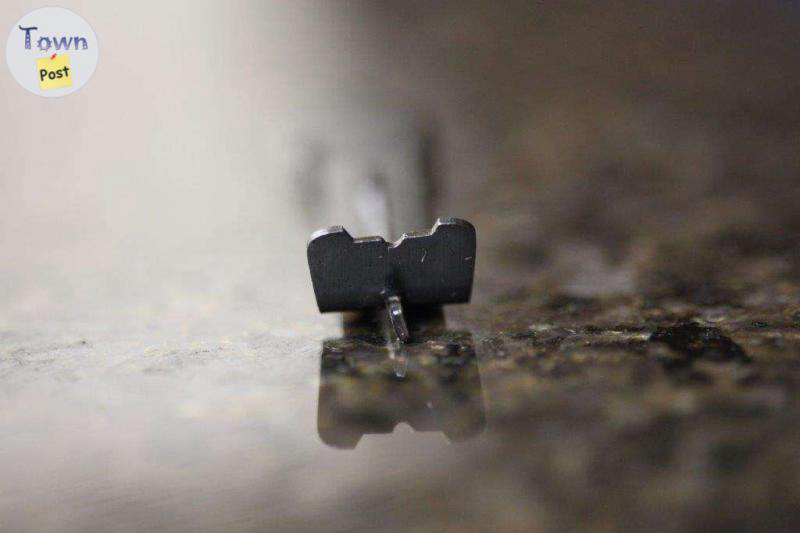
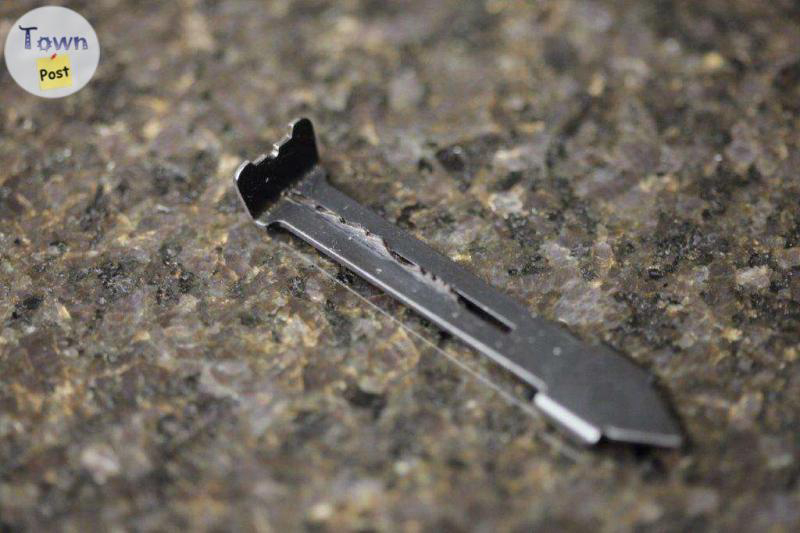
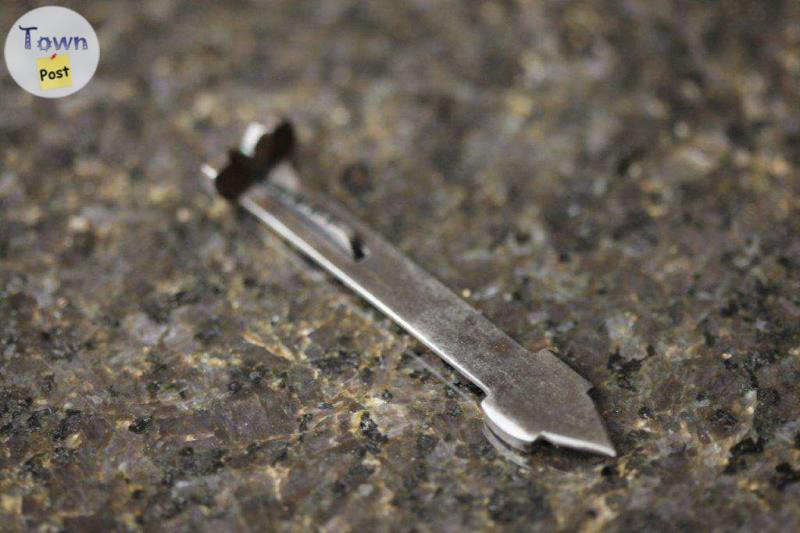
$125.00
Marlin Rimfire Rifles - Sights & Parts
categories:
Sporting Goods
Guns
Lacombe, AB
3 days ago
Showing 21 of
281
records
Prev
1
2
3
4
5
6
...
14
Next
Location
Search within
50km
of
Categories
Sporting Goods
205
Pets and Animals
112
Tools and Equipment
70
Household Items
70
Auto and Trailers
20
Real Estate and Rentals
14
Business and Services
8
Yard and Garden
5
Other
3
Medical Equipment
1
Transportation options
Local Pickup
252
Can Deliver
28
Can Ship
82
Advertise Here
Premium visibility for your business
Get Started